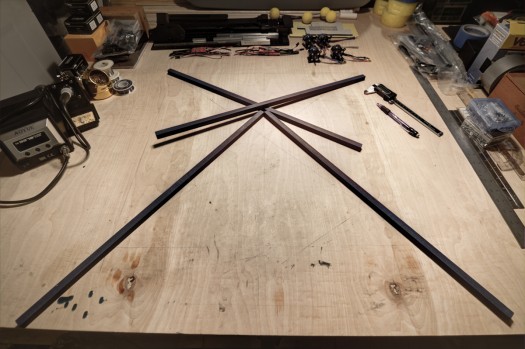
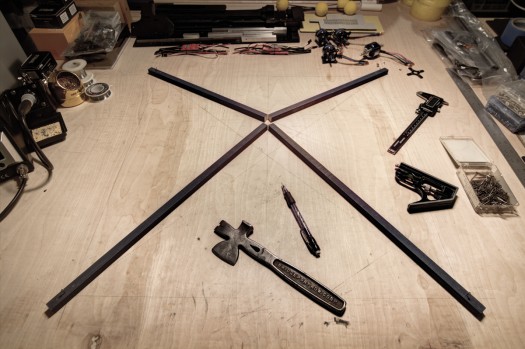
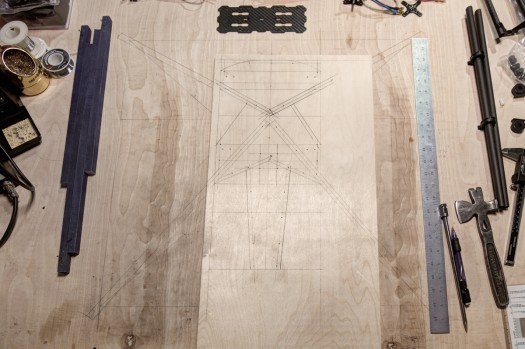
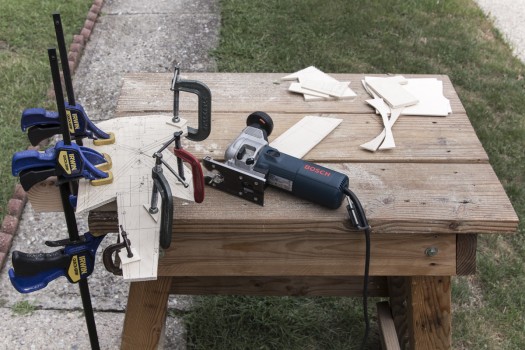
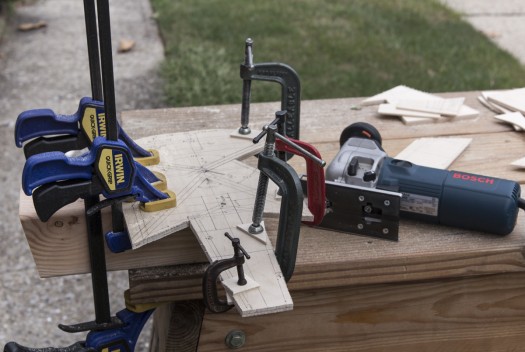
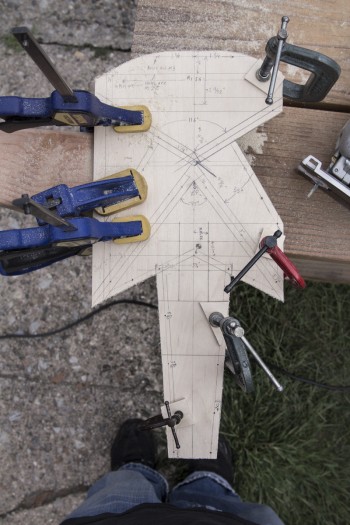
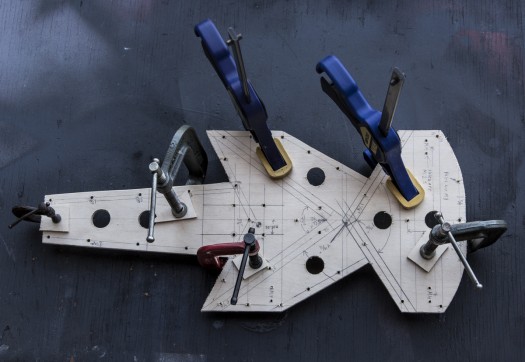
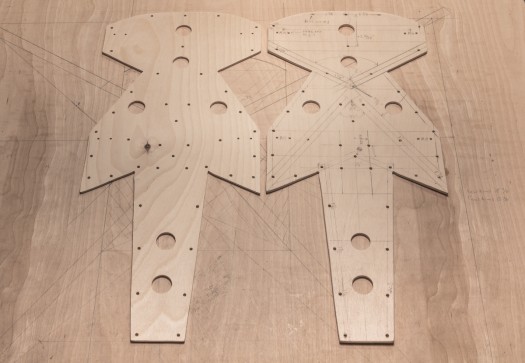
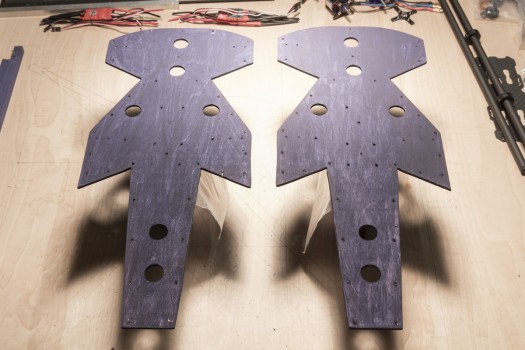
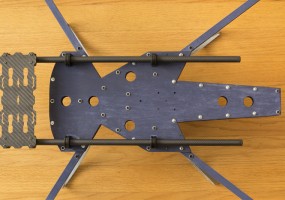
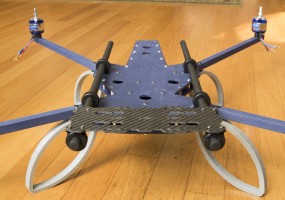
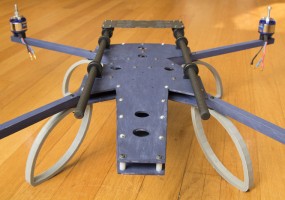
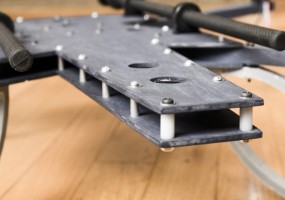
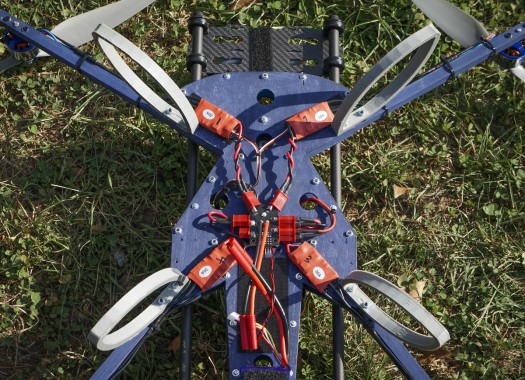
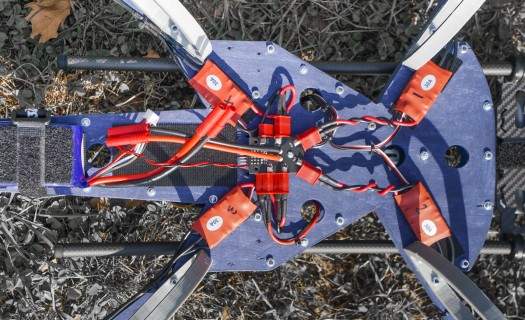
The next step is to cut out the top and bottom frame plates. Before doing so I was sure to accurately diagram all the dimensions so that the drawing can later be transferred to CAD should I wish to CNC a G10 fiberglass or carbon fiber version of this frame. Before cutting the frame plates, I thought it would be best to drill all the necessary holes. All holes in the frame are 3 mm diameter except for those used for the Tarot camera rail mounts, those 8 holes were 2.5 mm. The holes will be used to attach the top and bottom plates with 1/2″ spacers, and to attach the arms to the frame. I also drilled holes for an OpenPilot CC3D control board, however I will be placing a NAZA-M V2 in this build to start out with. I chose to cut both plates at the same time. To do so I clamped the plywood together and used my trusty Bosch jig saw to free the frame’s shape from the plywood. A few 3/4″ holes were added to allow for strapping things down and/or running wires. Once the frame was cut, I just sanded it down and applied a layer of navy blue acrylic paint. Here are the photos:
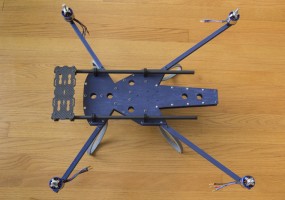
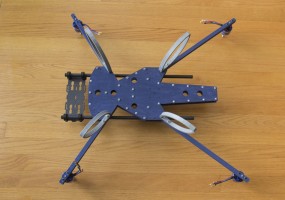
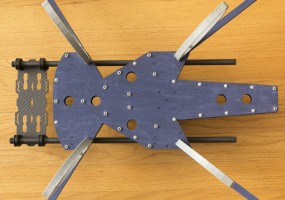
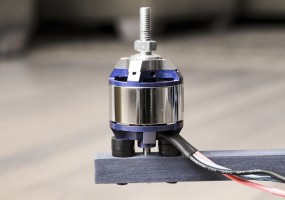
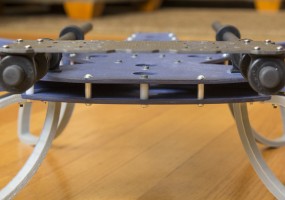
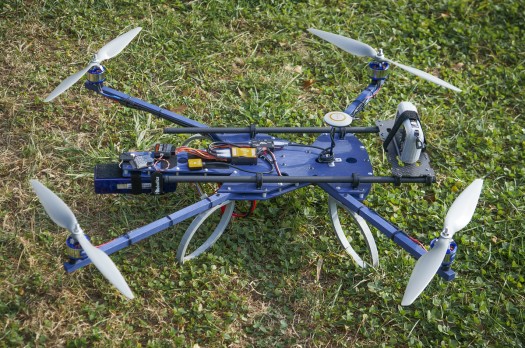
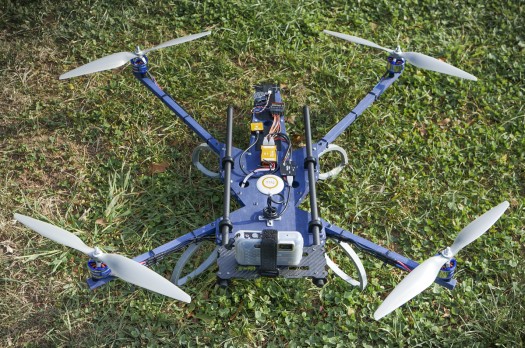
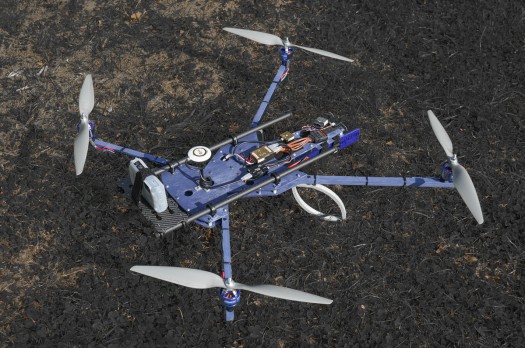
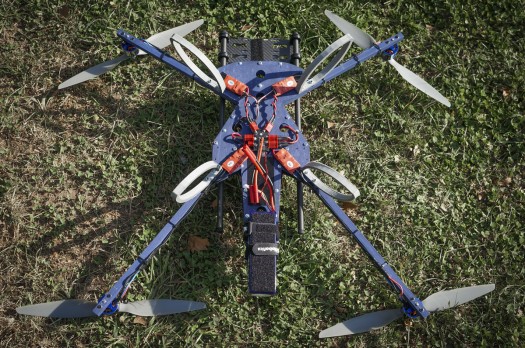
The top and bottom frame plates were bolted together using a combination of M3x23 screws with 1/2″ nylon spacers and 4-40×3/8″ screws with 1/2″ aluminum spacers. I don’t discriminate between metric and standard, I like them both. The motors I’m using are Exceed RC Rocket 3015-840kv beasts which were left over after I upgraded my last heavy build to Tiger motors. They are mounted with M3 screws and six 000 sized rubber plumbing washers(3 per screw).
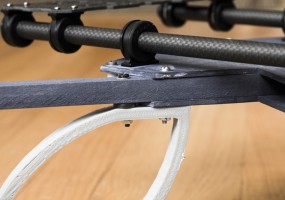
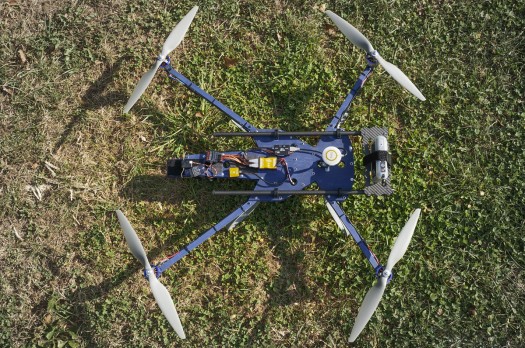
Bolted to the top deck is the Tarot T810 PTZ Mount Kit TL96014, a nice beefy setup. It consists of 12mm X 440mm carbon fiber rods and aluminum/silicone shock absorber mounts. The tray up front is a pretty heavy duty carbon fiber battery tray, also from Tarot – part #TL96018. Lastly, I attached a set of the Lemon landing gear I designed. They will need to be replaced with some taller gear once I assemble a new brushless gimbal for my Sony NEX5R. Next comes the wiring and installation of the DJI Naza-M V2.
- Large heavy lift quadcopter designed to carry a brushless gimbal for a Sony NEX5 camera and a DJI Naza-M V2
- Large heavy lift quadcopter designed to carry a brushless gimbal for a Sony NEX5 camera and a DJI Naza-M V2
- Large heavy lift quadcopter designed to carry a brushless gimbal for a Sony NEX5 camera and a DJI Naza-M V2
- Large heavy lift quadcopter designed to carry a brushless gimbal for a Sony NEX5 camera and a DJI Naza-M V2
- Large heavy lift quadcopter designed to carry a brushless gimbal for a Sony NEX5 camera and a DJI Naza-M V2
- Large heavy lift quadcopter designed to carry a brushless gimbal for a Sony NEX5 camera and a DJI Naza-M V2
- Large heavy lift quadcopter designed to carry a brushless gimbal for a Sony NEX5 camera and a DJI Naza-M V2
- Large heavy lift quadcopter designed to carry a brushless gimbal for a Sony NEX5 camera and a DJI Naza-M V2
- Large heavy lift quadcopter designed to carry a brushless gimbal for a Sony NEX5 camera and a DJI Naza-M V2
- Large heavy lift quadcopter designed to carry a brushless gimbal for a Sony NEX5 camera and a DJI Naza-M V2
