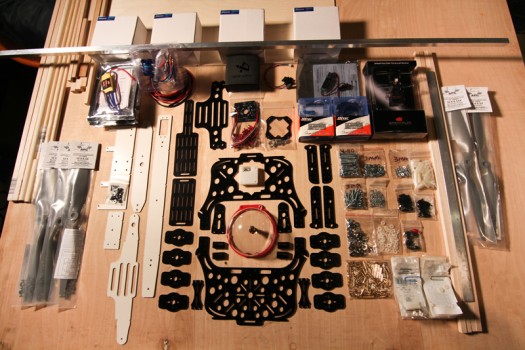
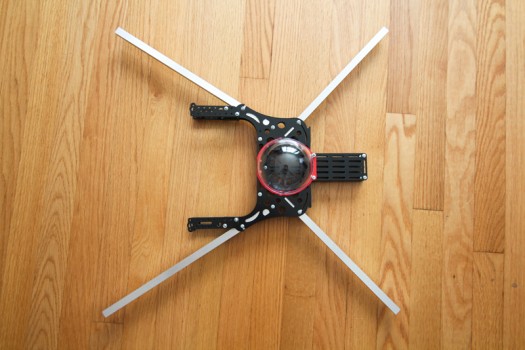
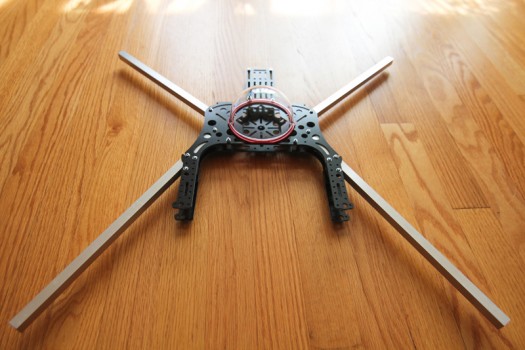
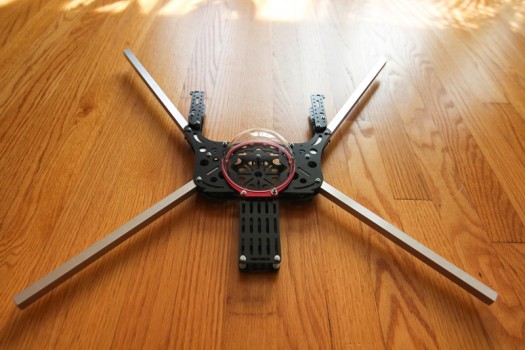
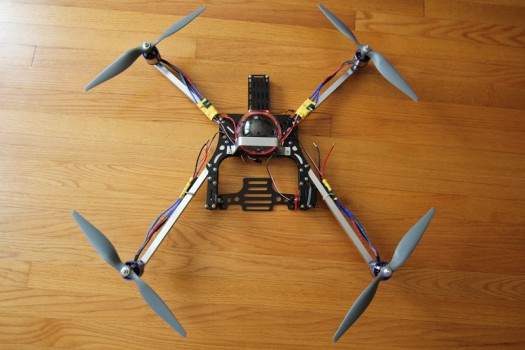
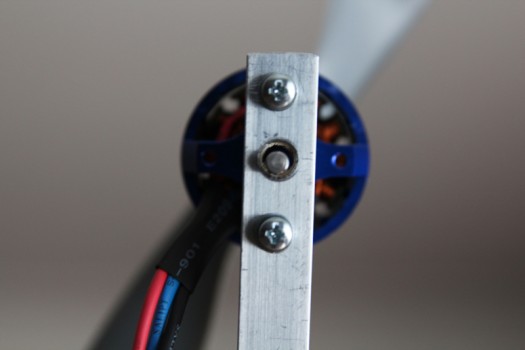
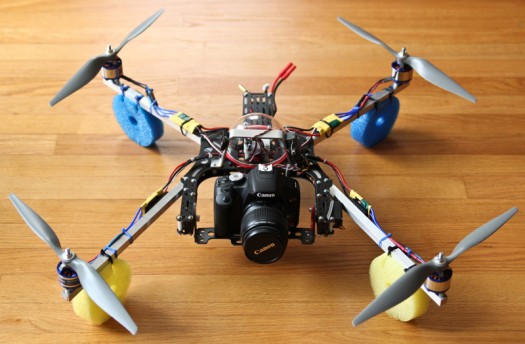
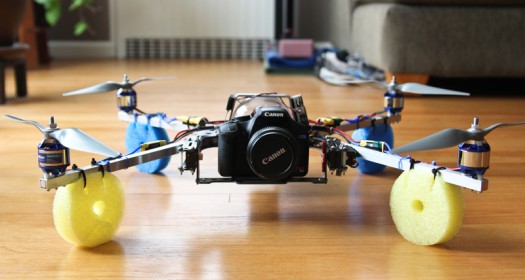
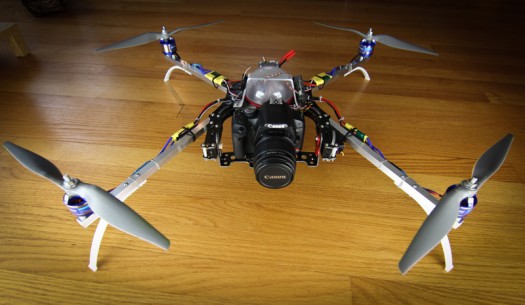
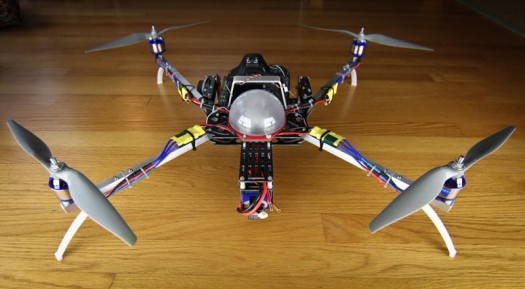
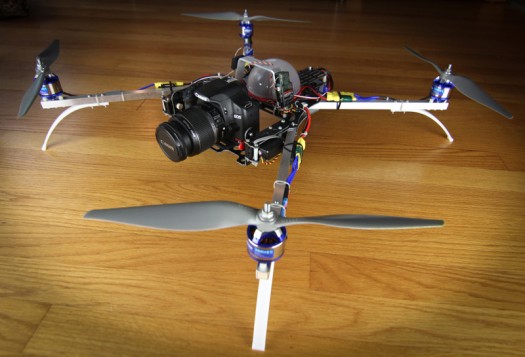
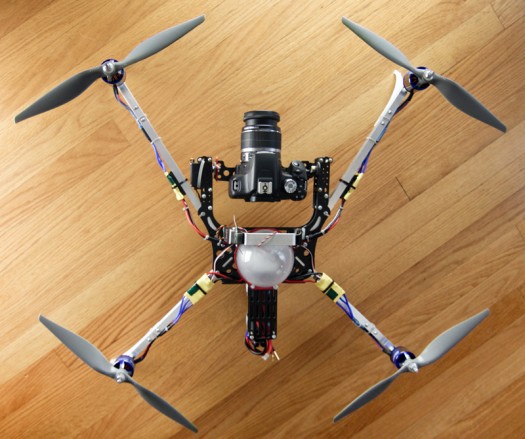
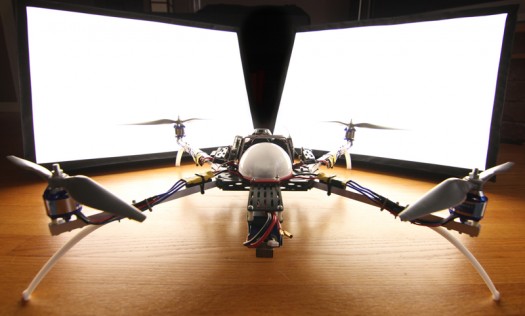
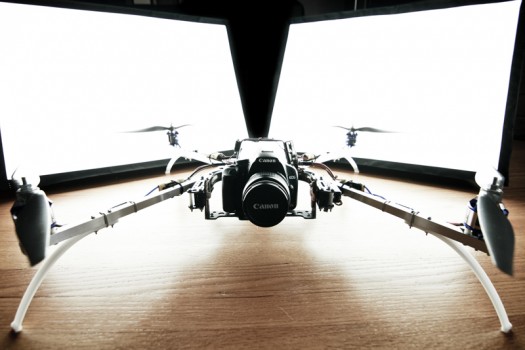
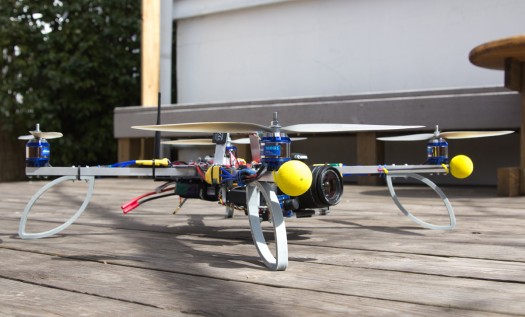
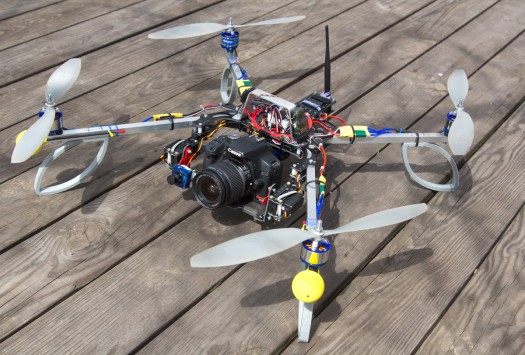
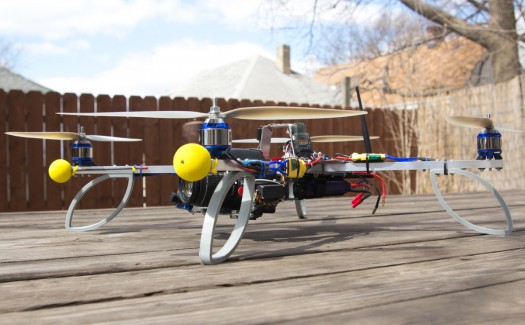
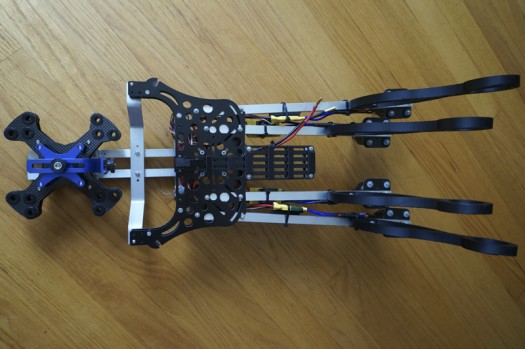
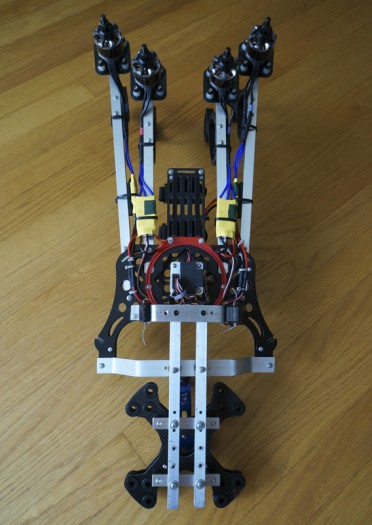
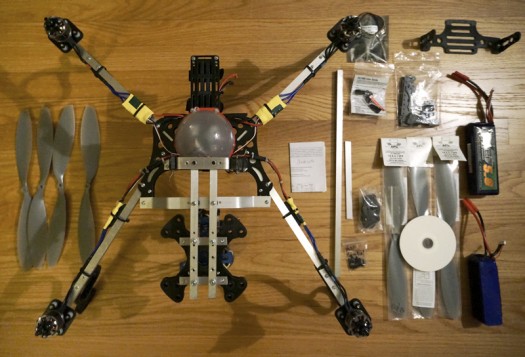
The original design uses 15mmx15mm square aluminum arms. I opted for 1/2″x1/2″ arms because they are easy to get here in the U.S. and I used them on my prior build. Also different from Jago’s original design is the fact that my arms won’t be hollow. I have filled them with 3/8″ square basswood inserts that are CA glued in place. This is for strength and vibration dampening. This means my wiring won’t be as clean as in the original design, in which the wires run through the arms. Arm lengths are 35cm for the front and 30cm for the rear.
Hardware: 3mm machine screws are best for this project because they fit the holes precisely, however I could not find them in the longer lengths so I am building with a mix of 3mm screws and 4-40 screws. A bunch of nylon spacers are needed as well, and the sizes to get are 1/8″, 1/4″, 1/2″, and 1″. I wasn’t able to find 1/8″ but did find 1/16″ thick nylon washers that I doubled to do the trick for where 1/8″ would have been needed.
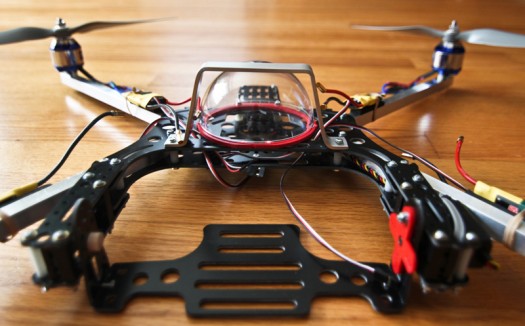
The dome was ordered directly from Jago with the mount, because I could not find a dome/mounting system in the U.S. with the same dimensions. I will probably throw an aluminum roll bar into the mix too as I did in my first build. I haven’t yet decided on landing gear or how I will mount the motors, but that’s coming up soon…
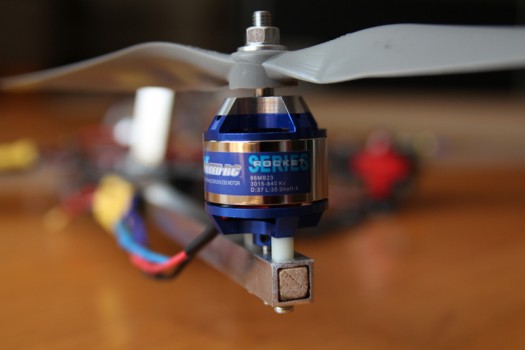
Bolted on Motors – Exceed RC Rocket – 3015’s @ 850kv
Put on Props for fun – APC 13×6.5
Added ESC’s – Quadroufo 30A flashed with SimonK software
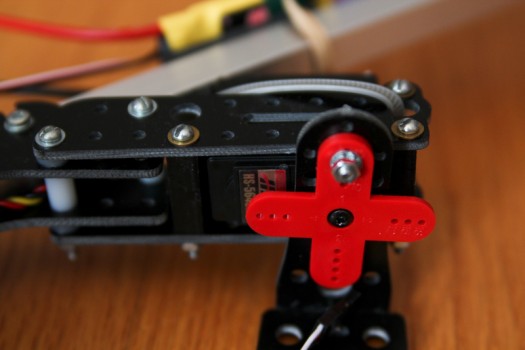
Mounted Camera Tilt Servo and Cradle. Used the HiTec HS-5645MG Digital Servo because of torque to price ratio
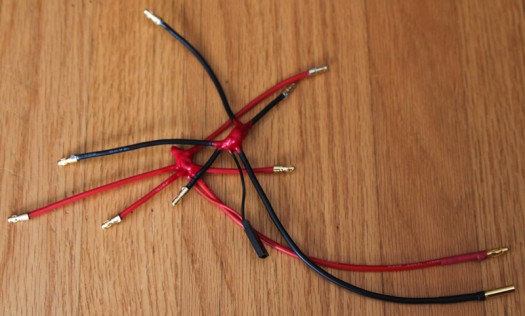
Soldered a wiring harness with an extra output for a BEC for when I mess with camera stabilization
Added an Aluminum Roll Cage because I love them, and it saved my prior build too many times to count
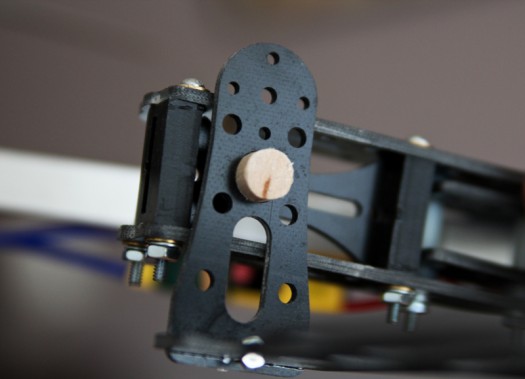
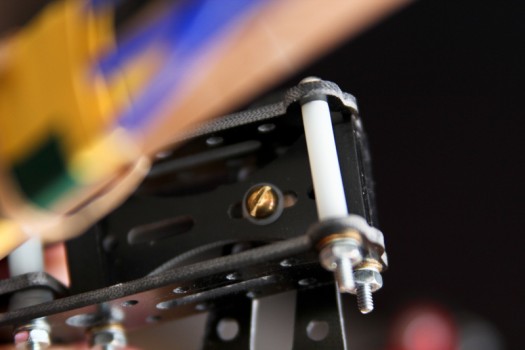
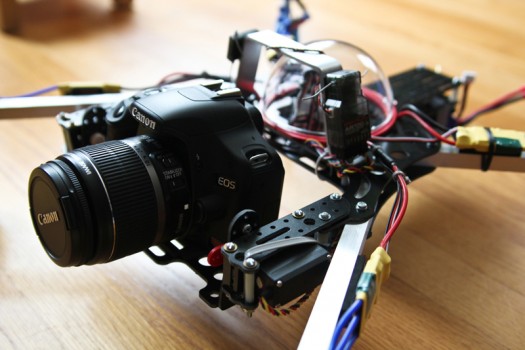
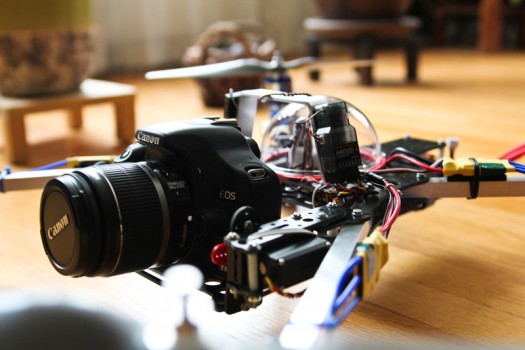
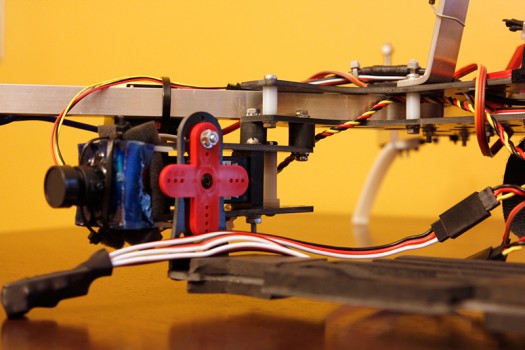
Some notes for those doing the same build: I opted to use one servo for the camera cradle. That left me with the problem of how to support the pivot point on the other side. If you look at the image below you’ll see a short, stubby, round thing sticking out there on the left of the cradle mount. That is just a wooden dowel screwed tightly to the support on the camera mounting arm. There are 2 close-ups of that below.
I went with bullet connectors for the ESC’s and will shrink wrap together the leads from the power harness to help avoid them ever coming apart. The leads between the motors and the ESC’s will be zip tied in place, so there will be little danger of them failing as well.
I will try a 2 axis camera mount later on…right now I just want to get this nasty machine in the air!
Bolt in Copter Control board and connect wiring
Attach AR7010 RX and Satellite
Scrubbed the inside of plastic dome with a scuff pad for a frosted look
Added zip-ties to keep things as nice as possible
Bolt on Rib Bones landing gear by Frankenquad
Maiden Flight:
Airframe handles beautifully thanks to OpenPilot CopterControl and solid engineering by Jago Svensson
It took over 50% throttle to get her to lift off when loaded with a 3S 5000mah LiPo and a Canon T1i/Kit lens. So I may try 14″ props to see how well they work out. My other cameras are heavier, and I may opt to fly a very lightweight but high quality Panasonic Camcorder before I try larger props. It is nice though to finally have a machine that can get solid aerial still images.
In the video below, none of the footage was stabilized and you can see the vibrations from me flying without balancing any motors or props. It would be interesting to see how the machine would fly with higher quality motors such as tigers or avrotos. I have yet to spend more than $18 on a single motor, but as I learn more I only want better quality.
Overall, not a bad second build for me considering I just started with RC and quadcopters last December. Appreciate all the help from the folks here at openpilot: Dave, Randy, Kevin, Hansen, Justin, and everyone else who has given me advice throughout this constant learning process.
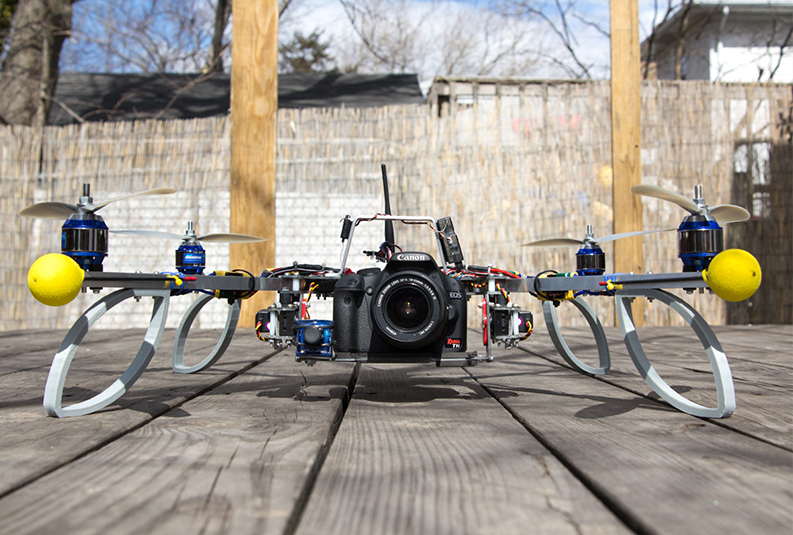
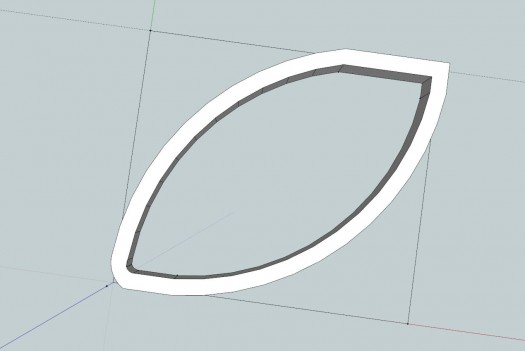
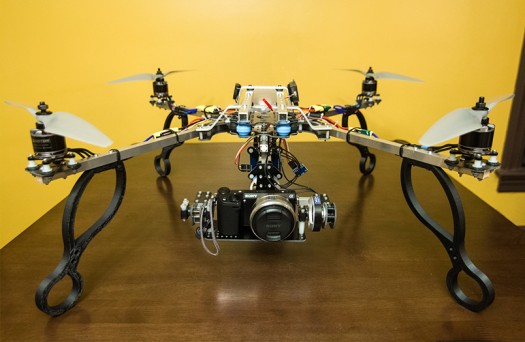
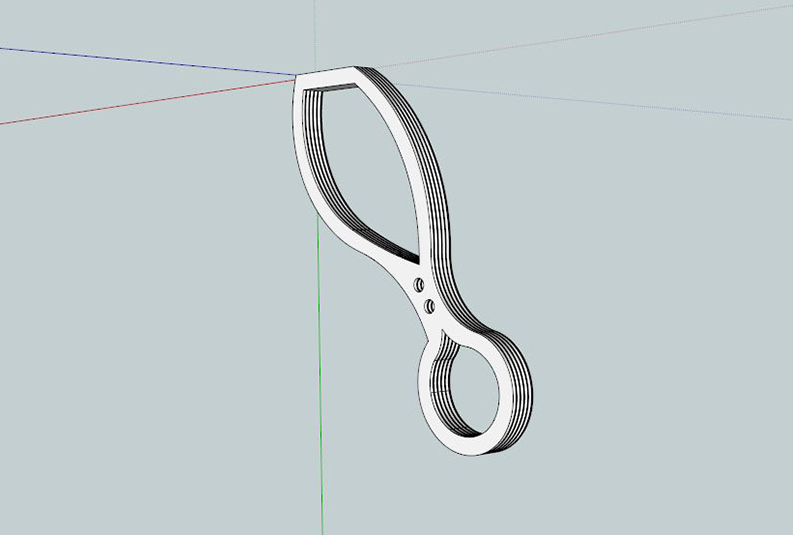
I re-attached the front servo arms via heavy rubberized mounts, and scratch designed some new landing gear that will hold the copter precisely 4″ off the ground to make room for my lowered camera mount.
If anyone wants the landing gear, they were 3D printed by Polakium Engineering and ran me around $42 shipped to the USA. The price will vary based on color/material and the current cost of supplies.
The major issues I’ve been having with this build are damn high frequency vibrations. The rubber mounts are too stiff to really help anything.
I’ve balanced and will try one more thing to isolate just the camera, but if nothing works I will lay the blame on my cheap ass $18 motors and move to Avrotos. Other than the vibes, she flies extremely well.
