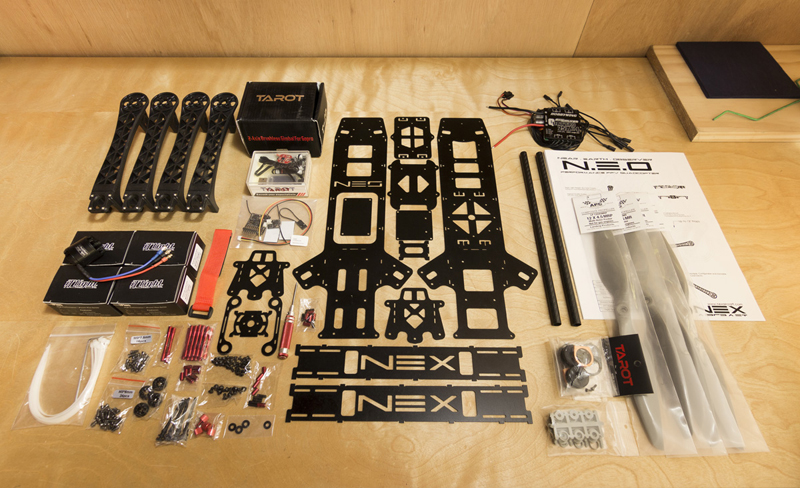
The first thing I like to do with any build is compile all of the parts I need to put the little beast together. That rarely happens, because even though I try my best for planning out a build – the plan usually evolves and at a minimum I always find that I need some nuts and bolts that I do not have in the workshop. I chose the NEX N.E.O. frame for this build due to its light weight, spaciousness, and the fact that it seems to isolate the camera from vibrations pretty well. I will be customizing the frame to carry a Tarot T2D brushless gimbal for the GoPro Hero3. This gimbal works nicely out of the box and will compliment the N.E.O. frame quite well. Here is the complete parts list on day 1 of the build process:
NEX N.E.O. QuadCopter Frame Kit
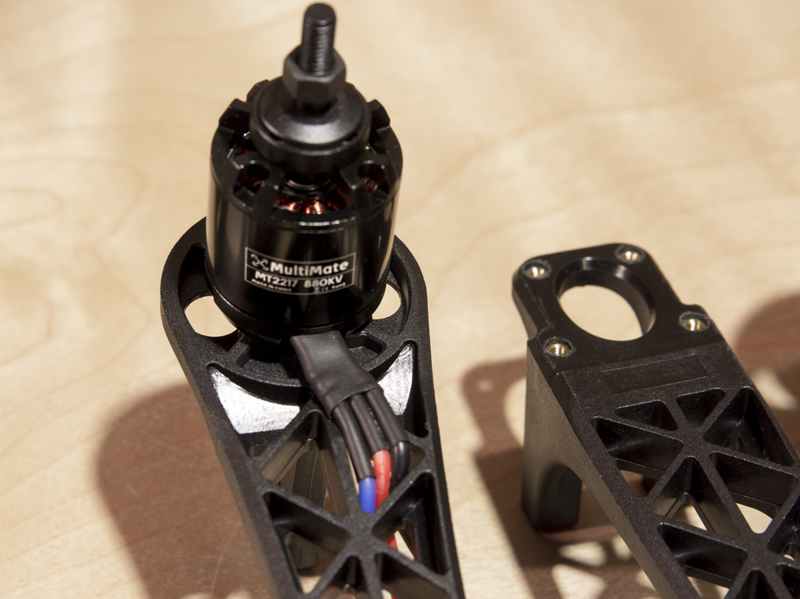
4x iPower MultiMate MT2217 880kv Brushless MultiCopter Motors
Tarot T2D Brushless Gimbal
Tarot GOPRO two-axis gimbal gyroscope ZYX22
4x APC 12×4.5 MR Propellors
Gemfan adapter rings for APC MR props
2x Tarot TL68B22 Dia 10mm FY680 3K Lines Matt Pure Carbon Rod 280mm
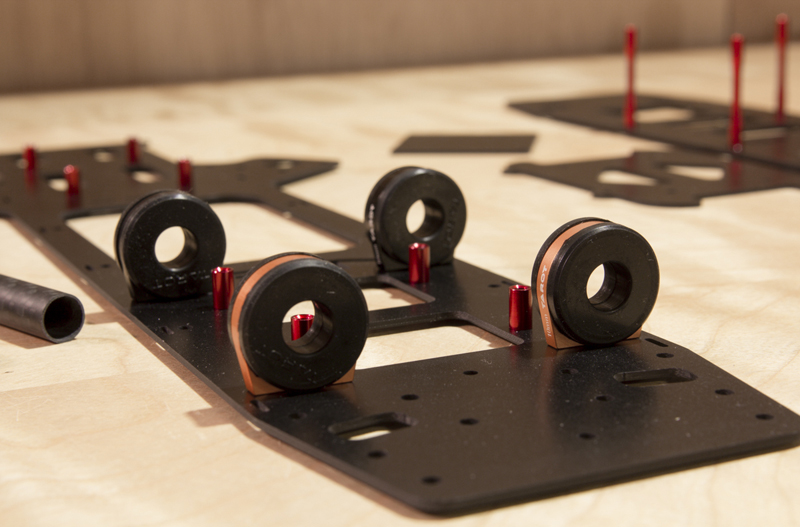
4x Tarot M10 metal silicone damping Block group TL68B10
HobbyWing SkyWalker-Quattro-25A 4 in 1 ESC
Sky LiPo 3S 5000mAh 40C battery
1S-8S Cell Lipo Battery Voltage Tester
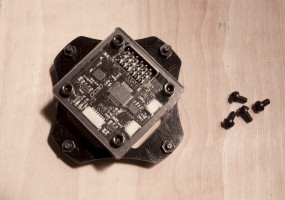
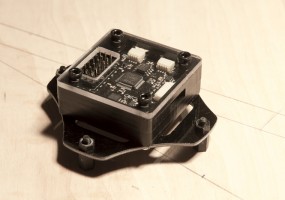
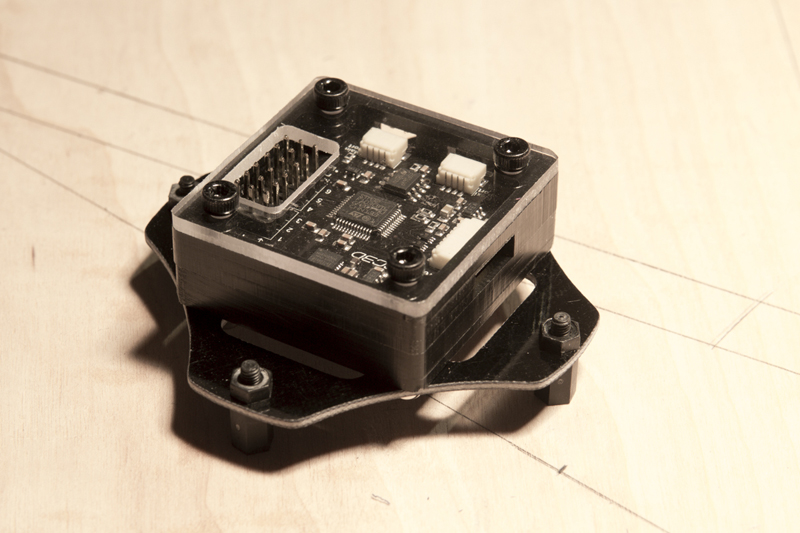
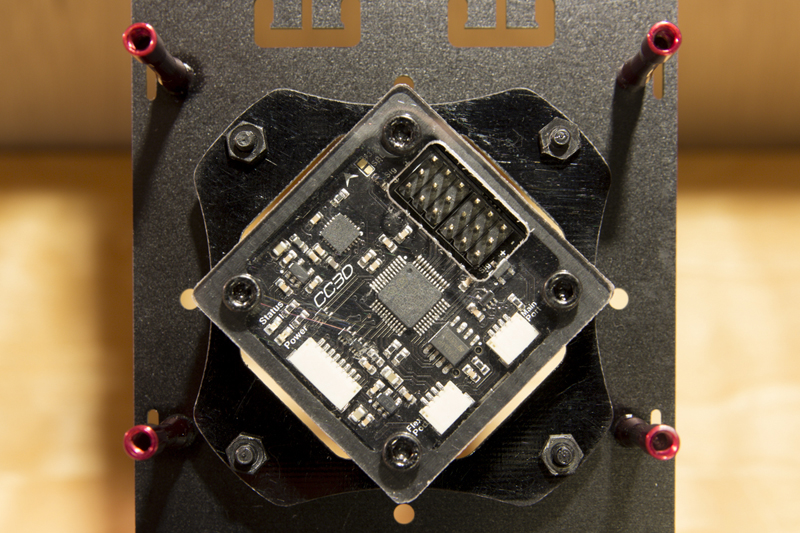
Original CC3D Flight Control Board
CC3D flight controller case with clear lexan top
Frankenquad OpenPilot CC3D/Revolution Adapter
Lemon DSM2 Spketrum Compatible 8-Channel Receiver + Satellite (Failsafe with UART) – this is an experiment, may switch to an AR7610
Sticky backed foam and velcro – you always need velcro!
Misc wires, connectors, and hardware for hooking up power, brushless gimbal, and mounting motors to arms
Items may be added, removed, or swapped during the build process – but this is a great starting point!
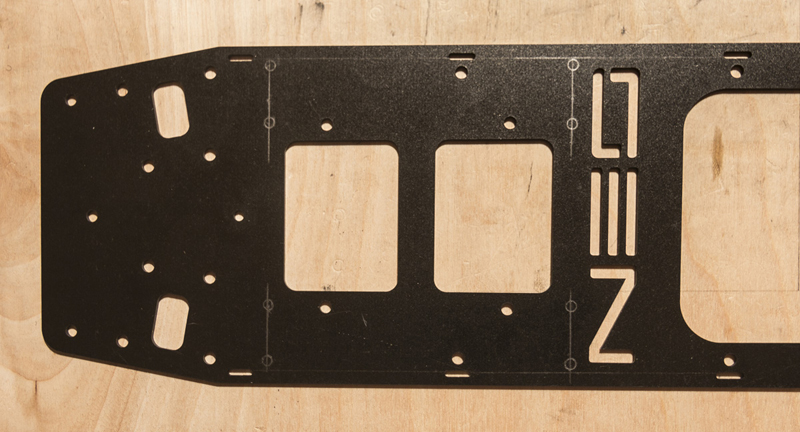
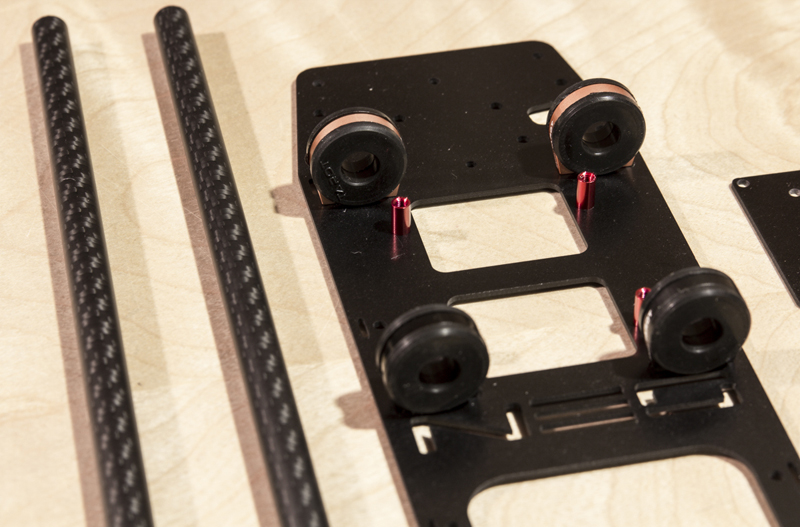
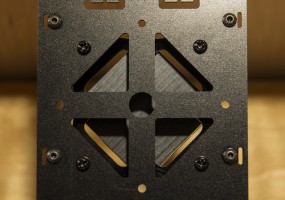
For the next step I just followed the NEX NEO Assembly Manual and attached the red 37mm spacers to the bottom frame plate, and the 8mm spacers for the gear decks to the top frame plate. The kit comes with 2 gear decks and additional ones may be purchased. I opted to place one in the forward and aft positions but not on the top of the hatch. These little gear decks are useful for mounting FPV gear, receivers, etc…
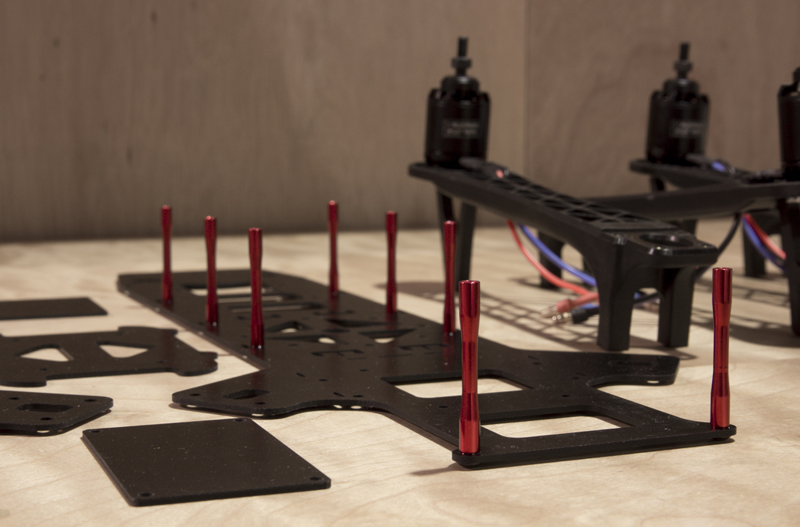
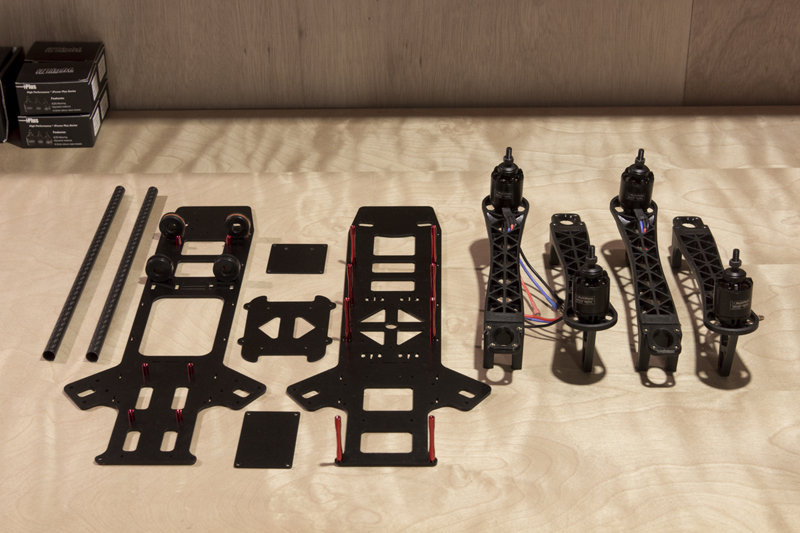
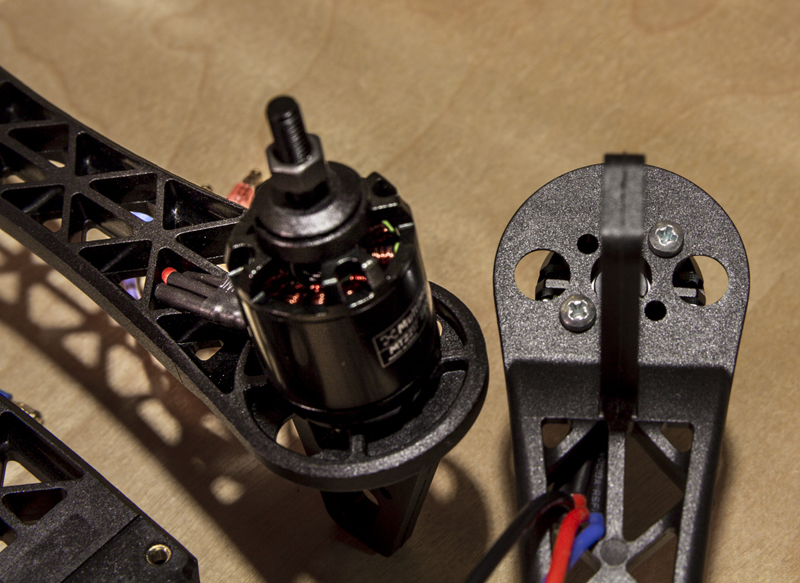
I attached the motors to the arms using 3mm x 8mm machine screws and used 2 screws per arm. 4 could be used for extra security, but I always check my copters before a flight so I feel that 2 screws are more than enough to secure these little 2217’s.
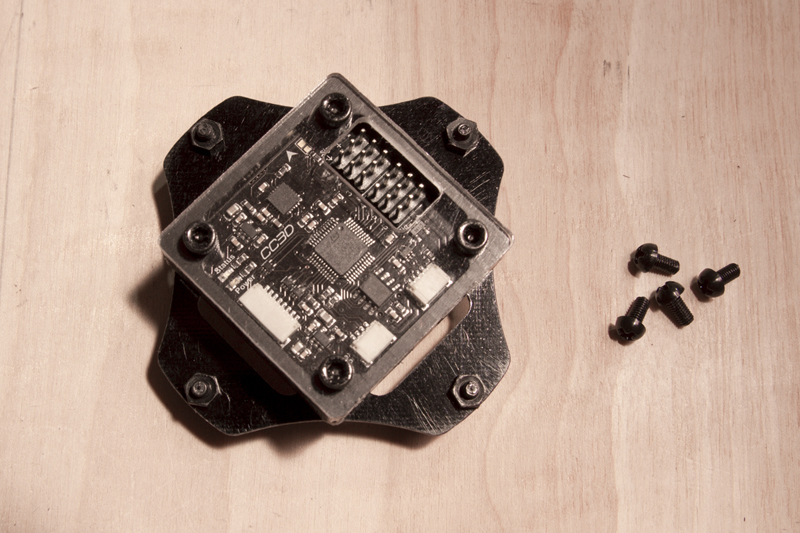
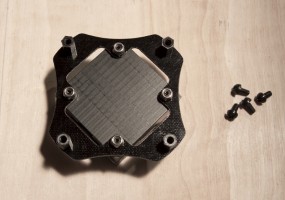
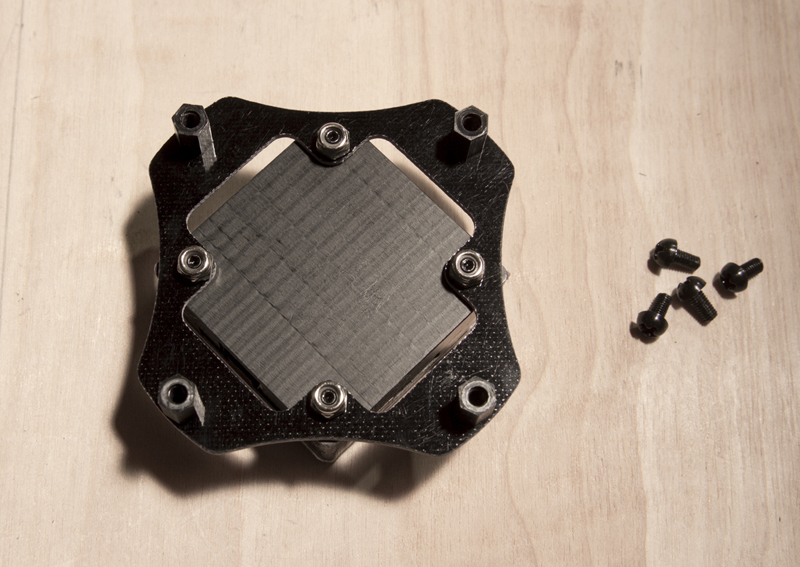
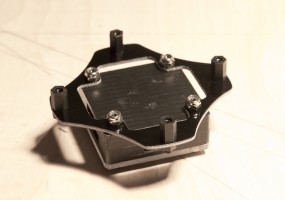
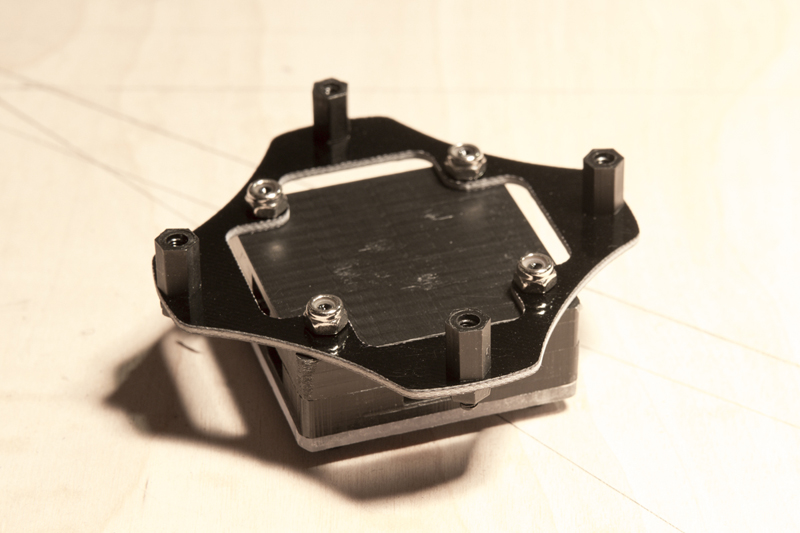
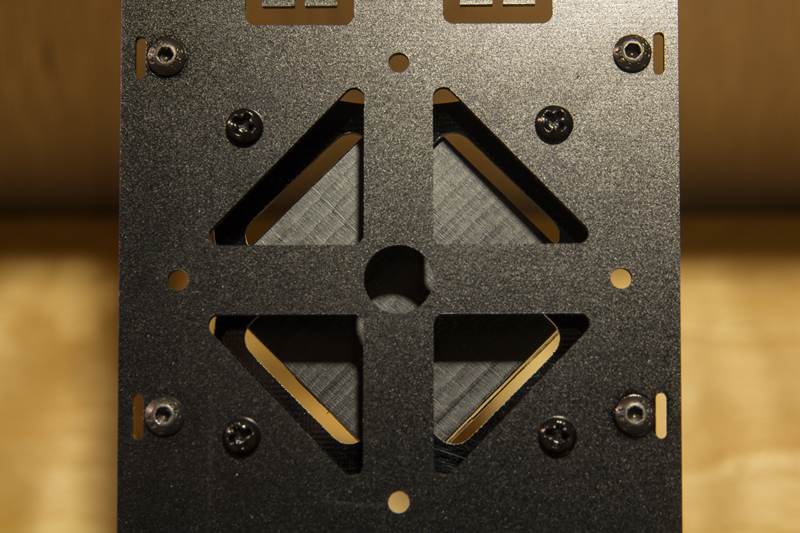
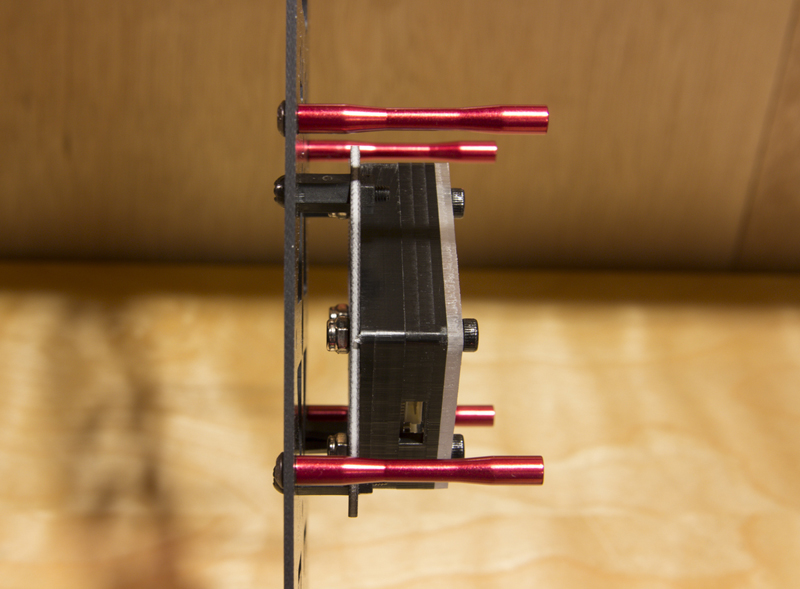
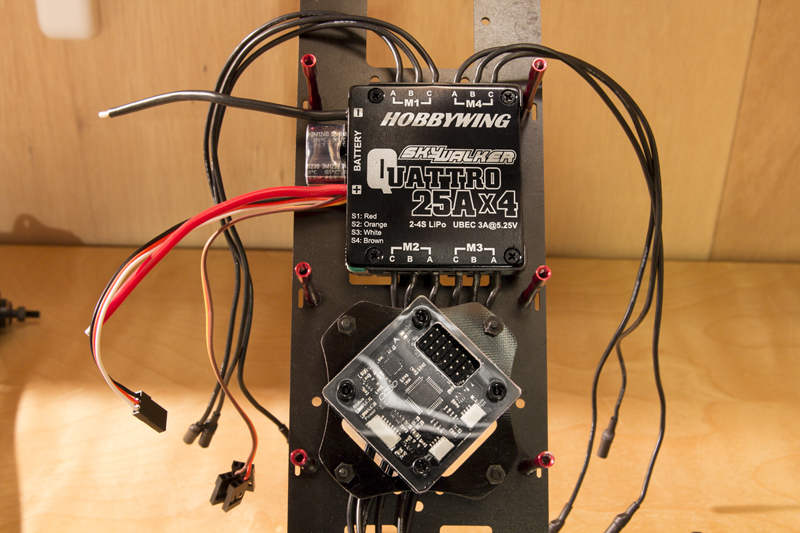
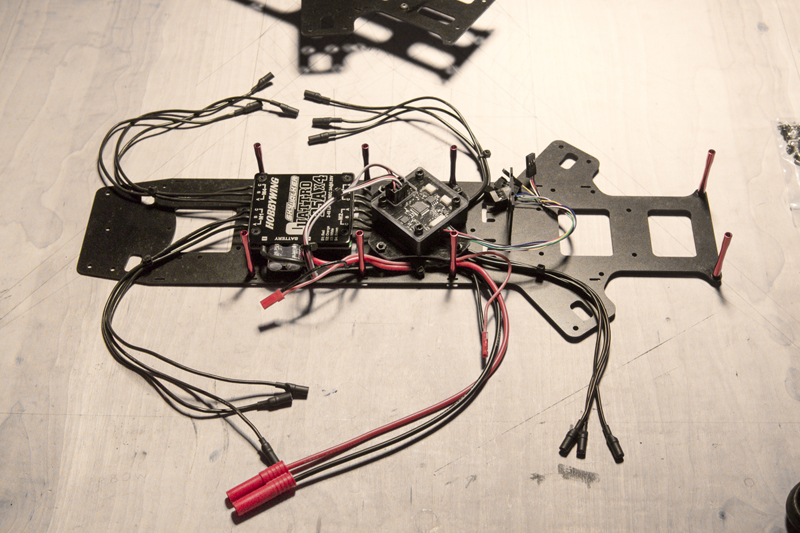
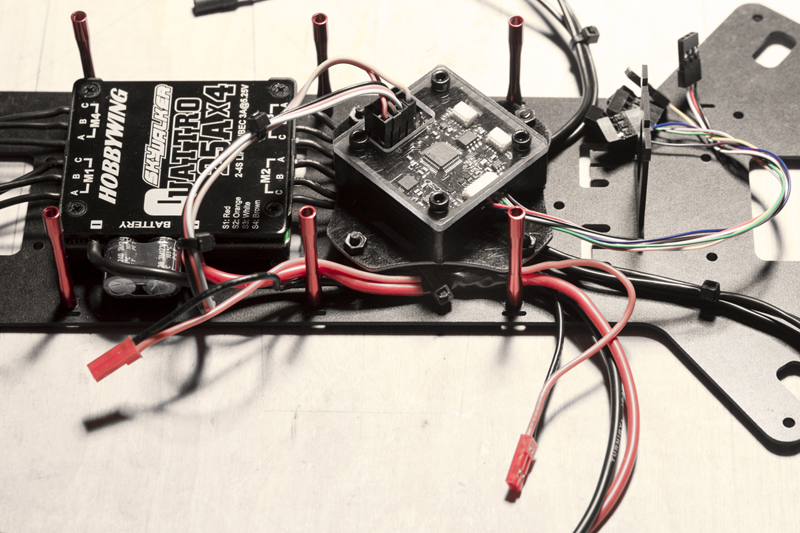
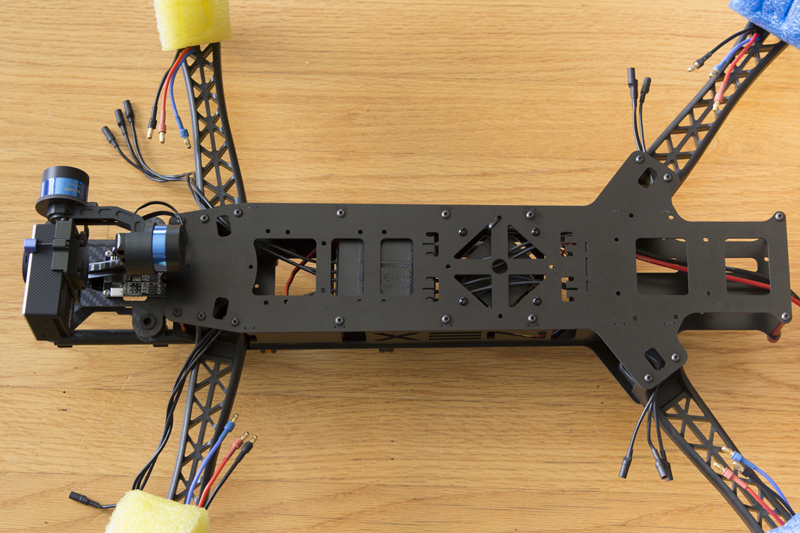
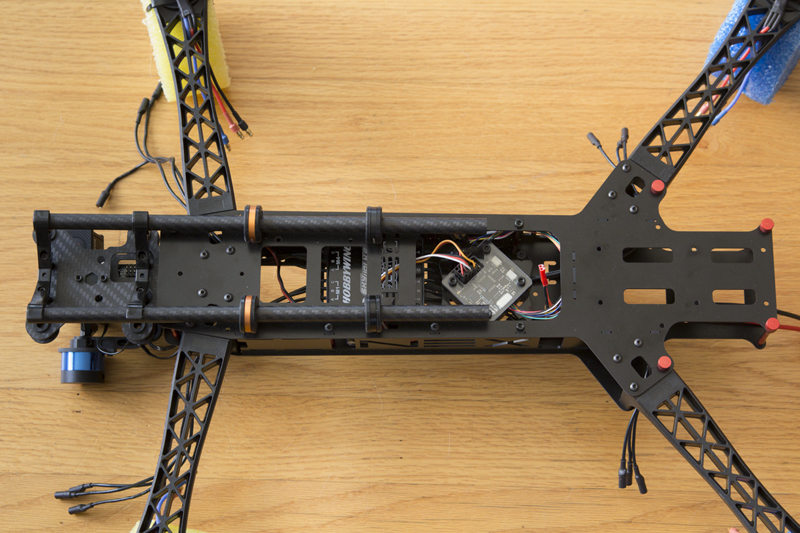
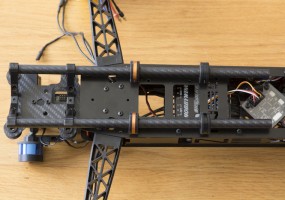
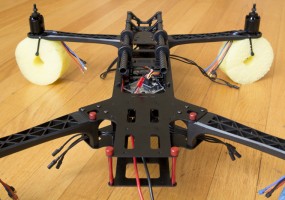
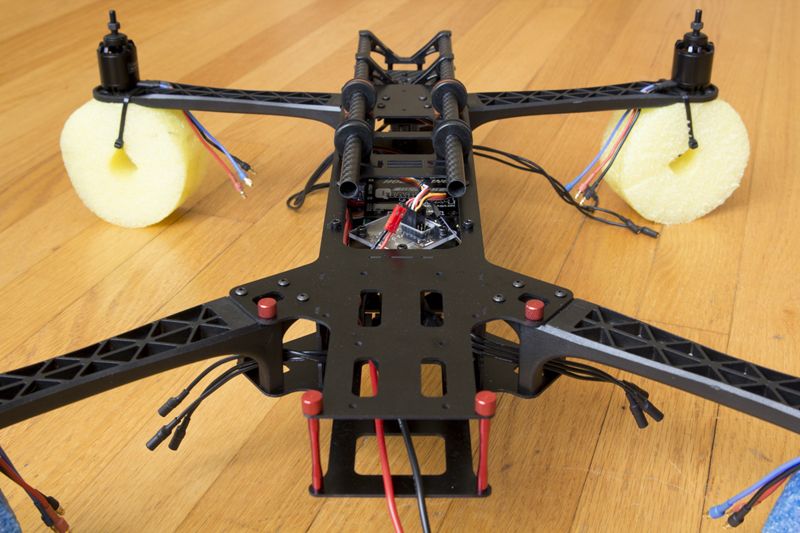
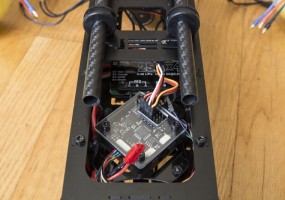
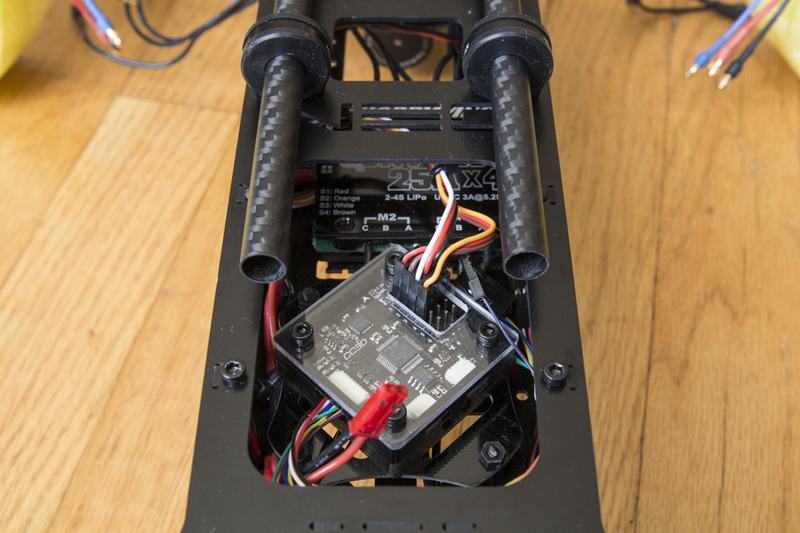
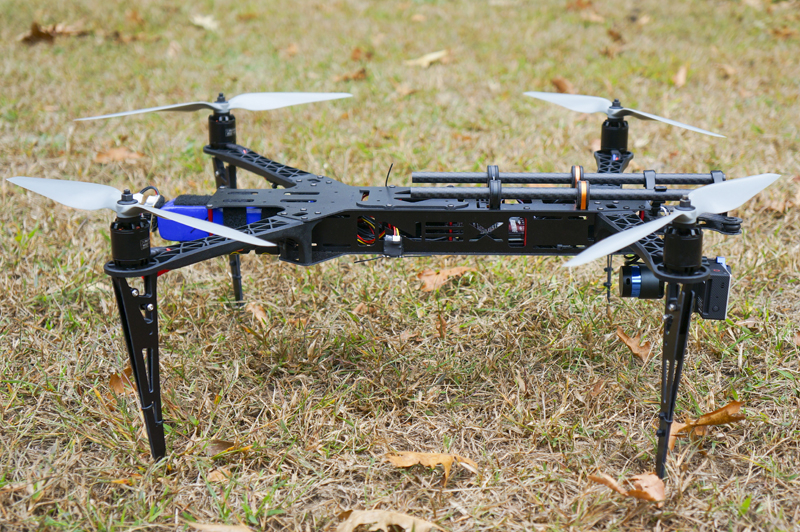
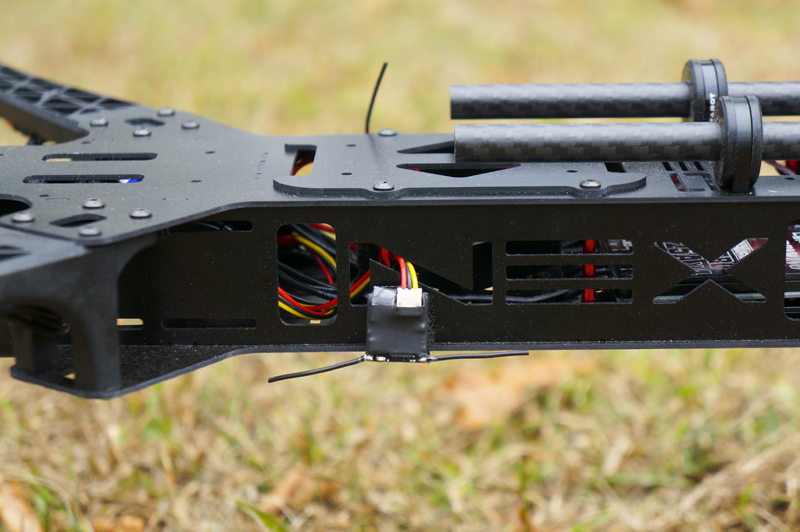
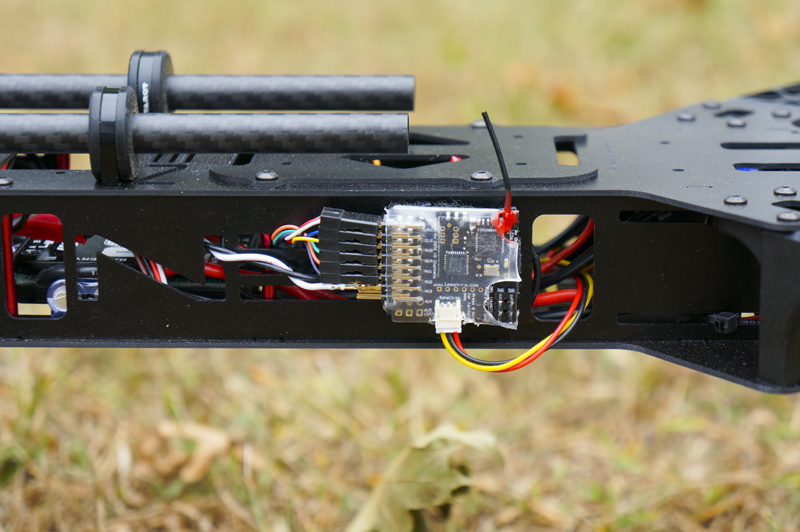
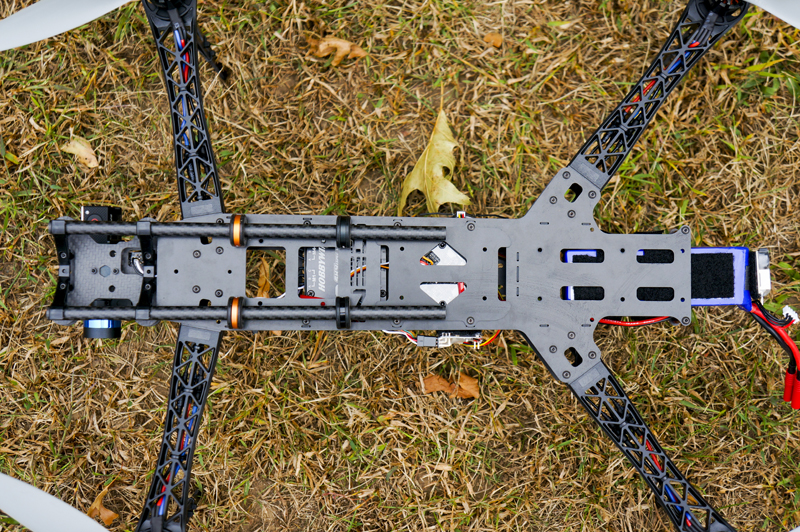
The last step in prepping the frame for assembly is for me to figure out where everything is going to go. With the Hobbywing 4 in 1 ESC, that’s actually pretty easy! The NEX NEO kit comes with an shock mount for the control board, but I am opting not to use it. Because it really isn’t affected by vibes, I plan to mount the CC3D control board directly to the bottom frame plate. To do this I am using Frankenquad’s CC3D adapter plate, which allows me to use the standard 45mm hole spacing on the NEX NEO frame plate to mount my 30.5mm spaced CC3D. With this plate, the CC3D board will end up mounted facing 45 degrees to the left, which is no problem since the software allows you to enter the degrees you offset from center. The board will know it’s not straight and it’ll be ok with that. Can’t say the same for the board’s father. Enough bad jokes, more photos:
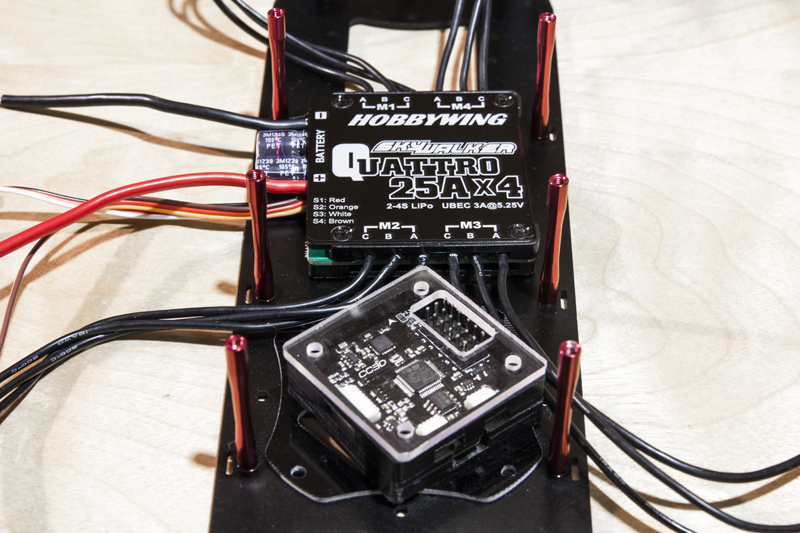
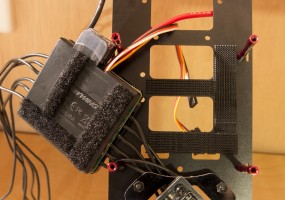
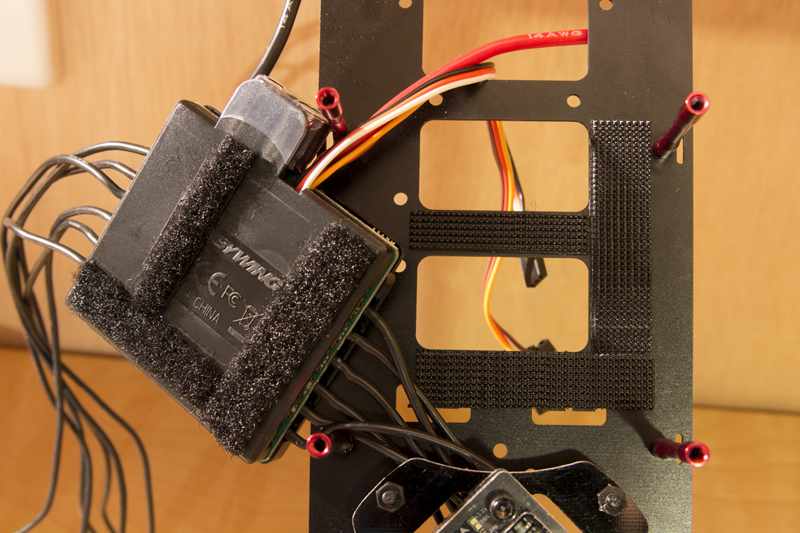
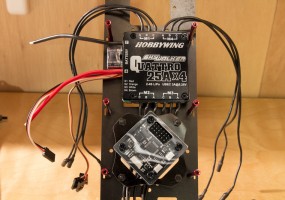
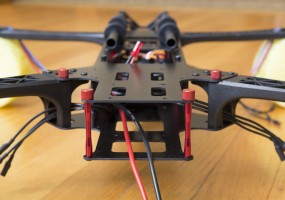
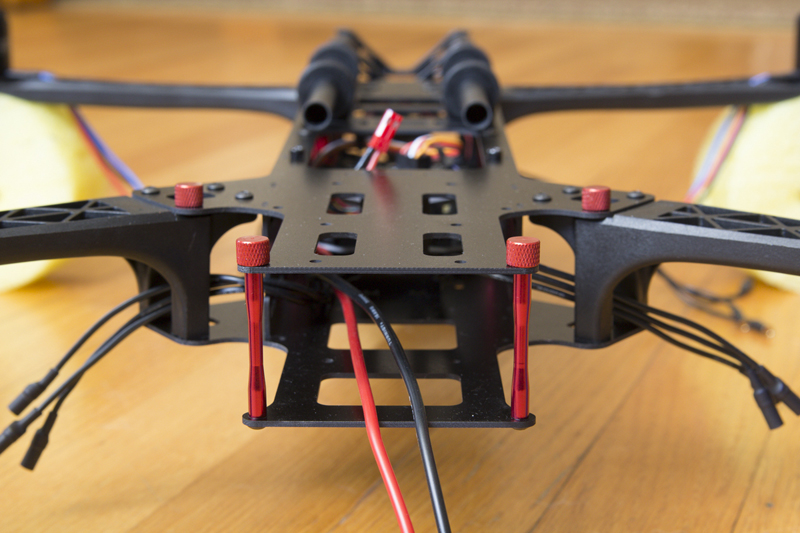
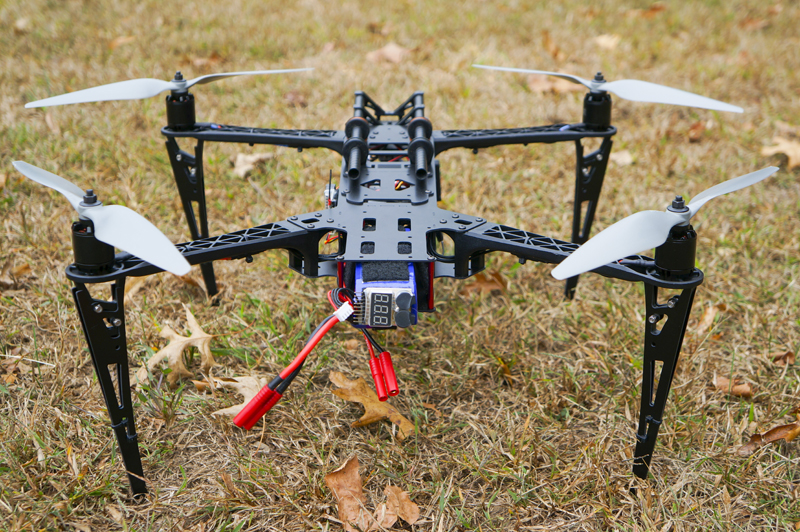
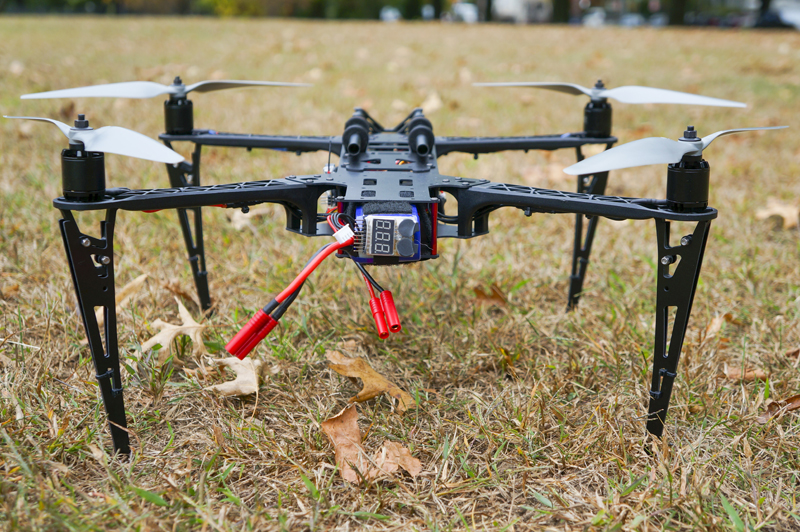
The next thing I did was find a spot for the Hobbywing 4 in 1 ESC. It fits this frame just about perfectly and I’m really happy it did! This item is handy because it combines both power distribution and ESC’s in one unit. It makes wiring pretty simple. I mounted the ESC with industrial strength velcro, slightly forward of the craft’s center. Due to its forward position, the rear esc wires reach their motors with very little length to spare, and the forward wires have a decent amount of slack to play with. The MultiMate motors just plug right in to the ESC, so the only wiring I have to do is to install a main power connector and power outputs for the brushless gimbal and FPV gear. For LiPo connections I always use 4mm banana connectors and for the gimbal and FPV equipment the power output cables are standard JST connectors.
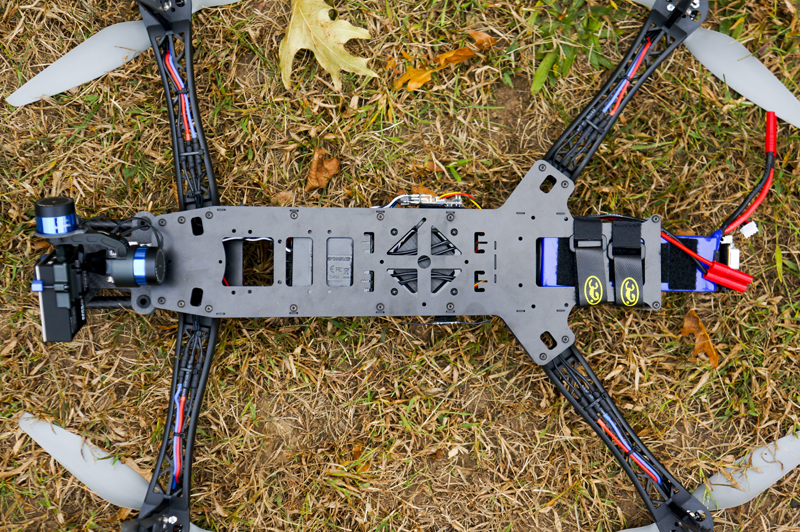
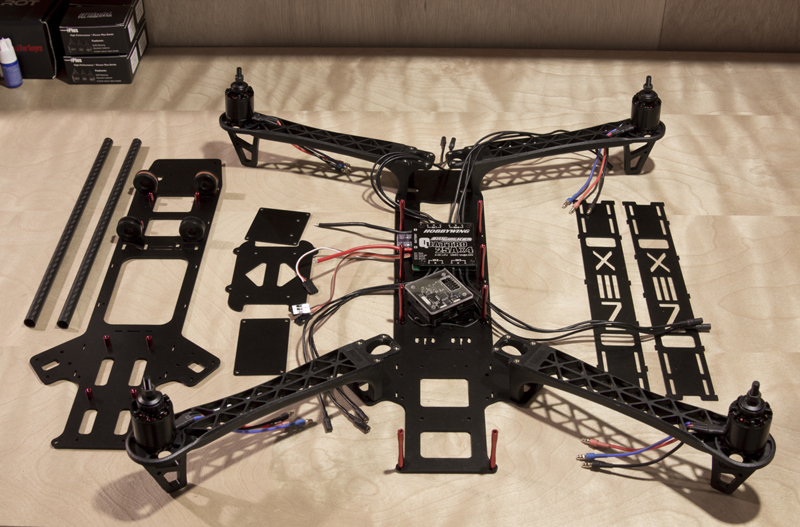
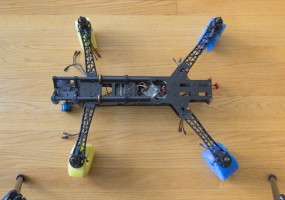
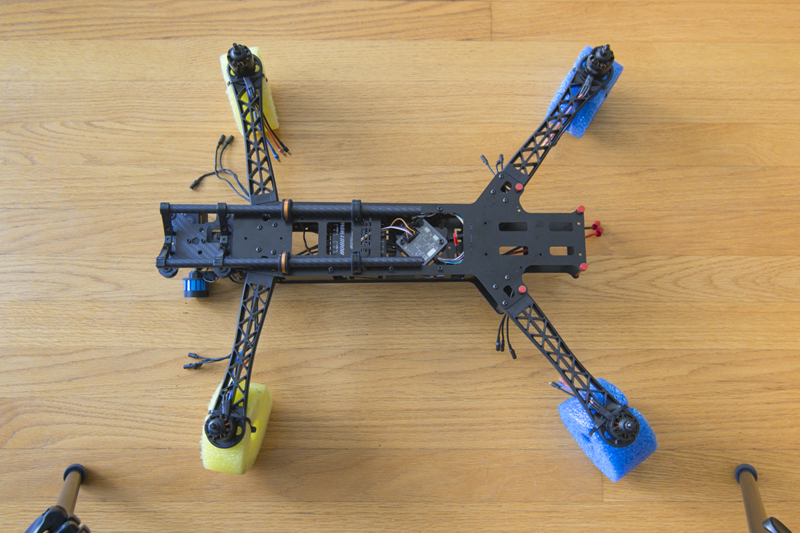
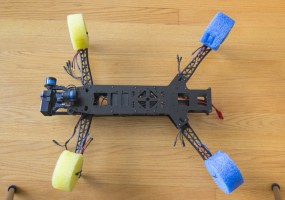
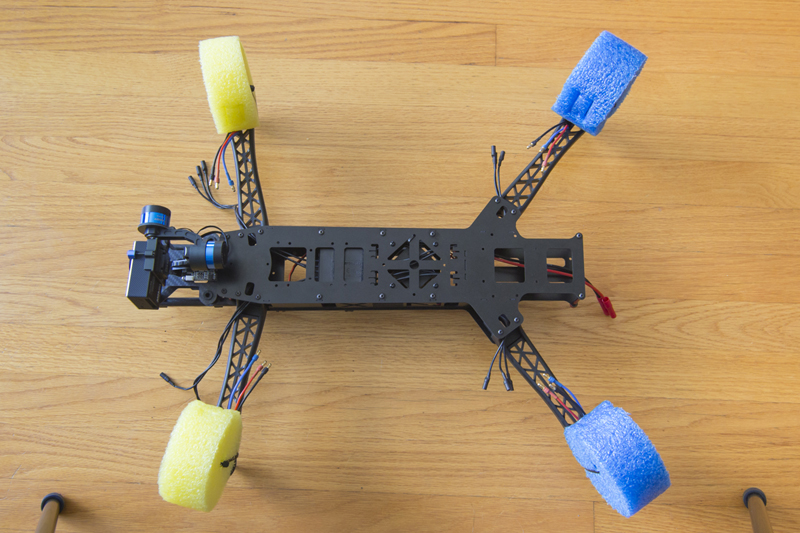
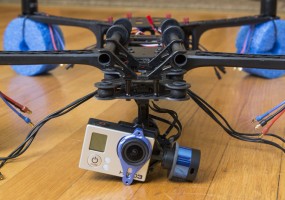
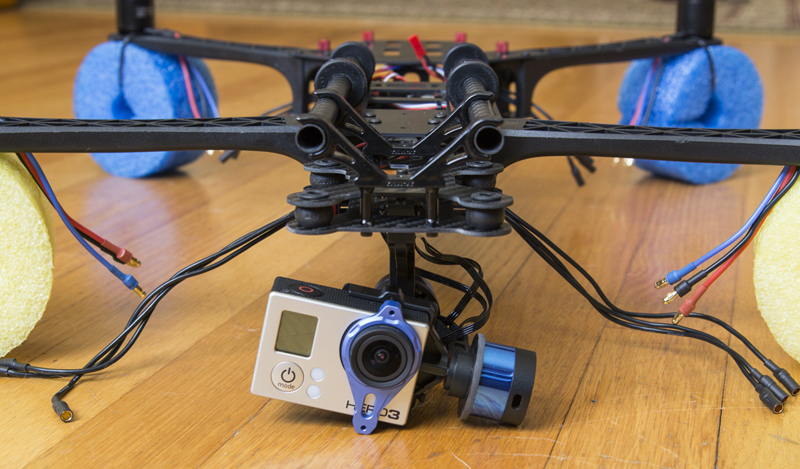
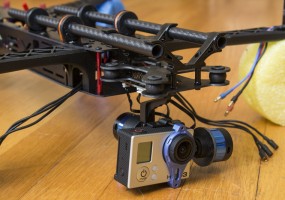
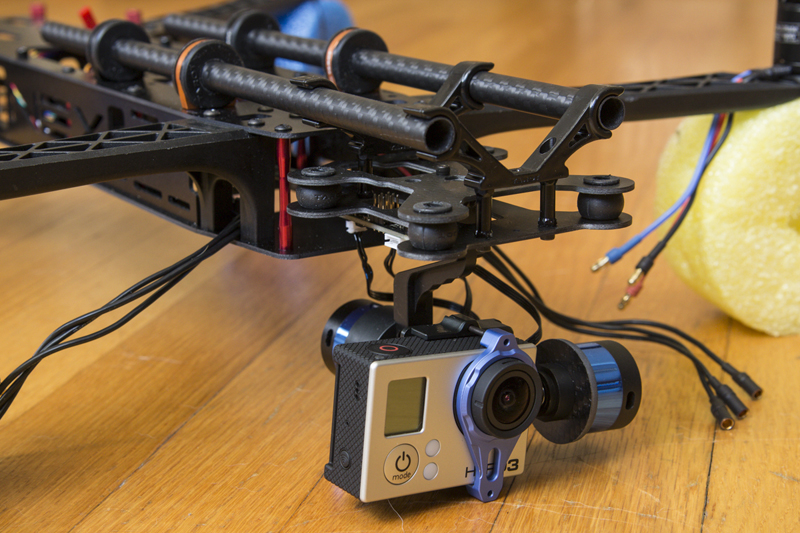
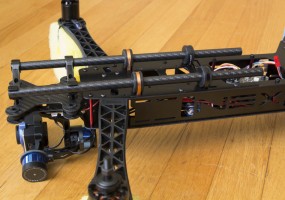
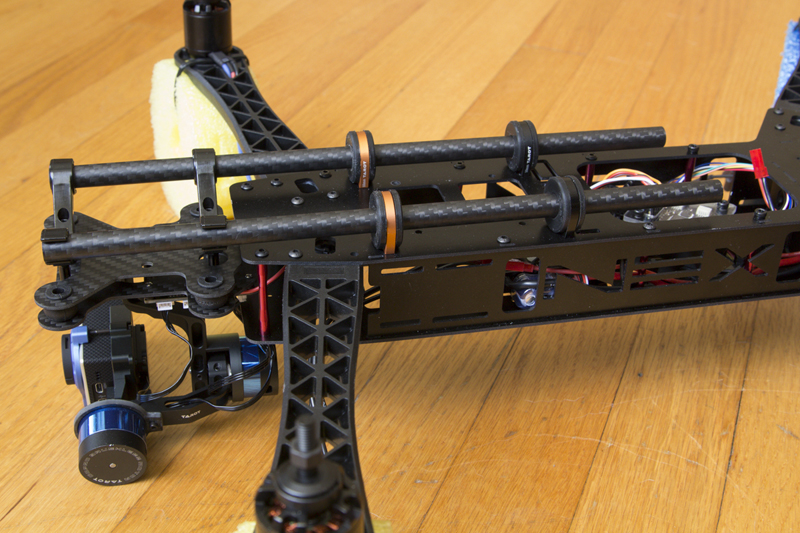
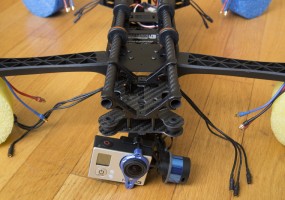
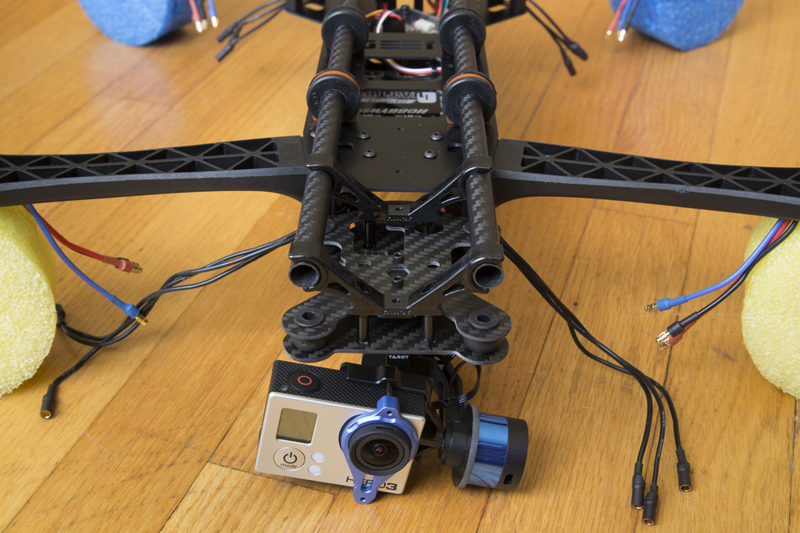
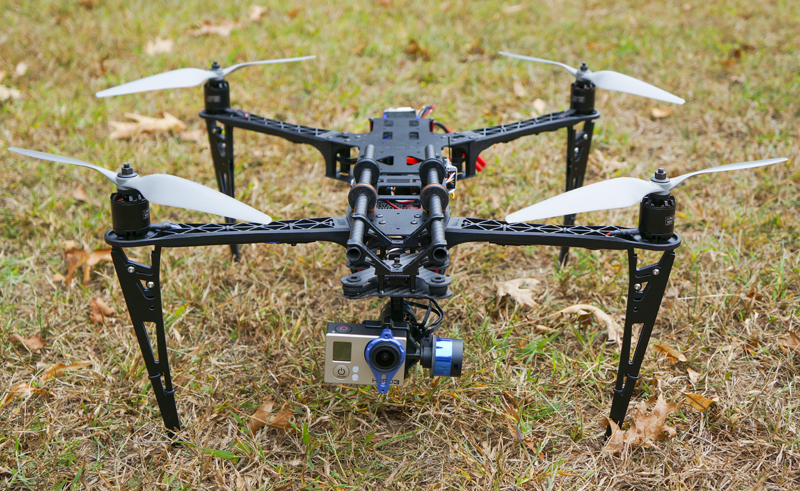
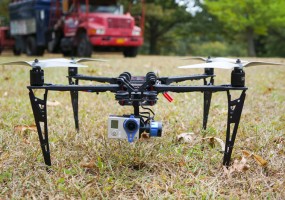
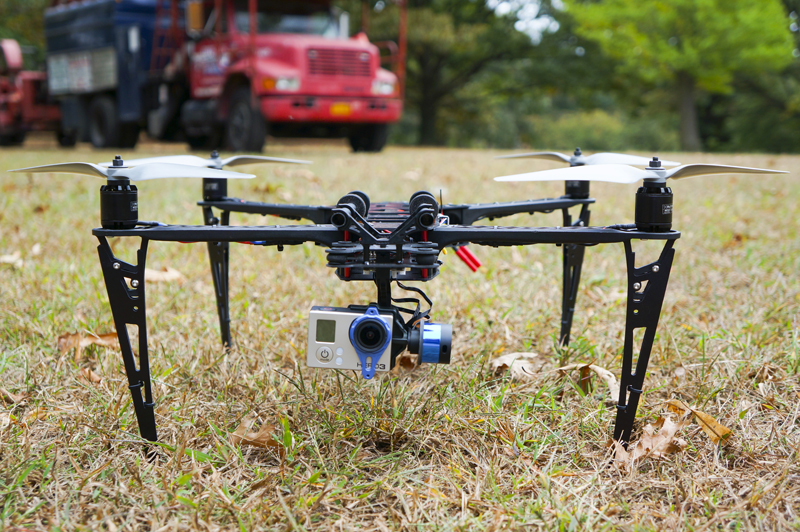
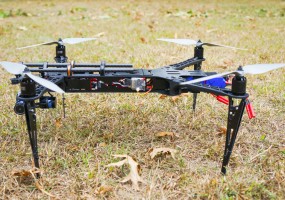
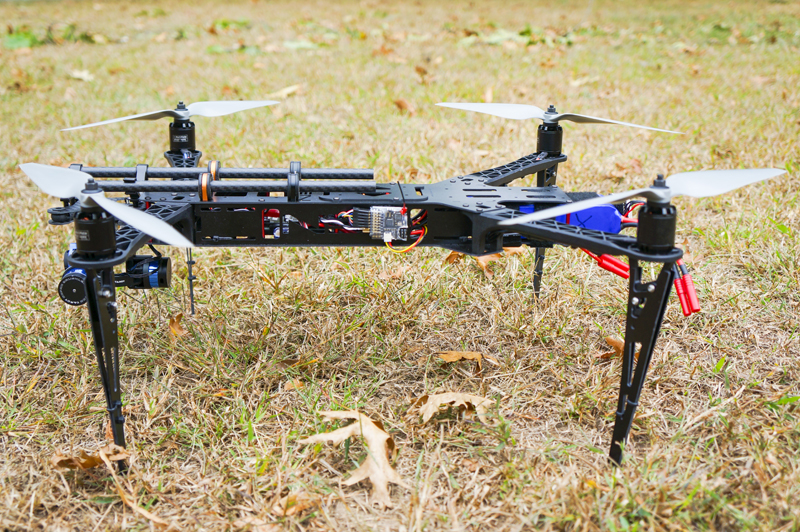
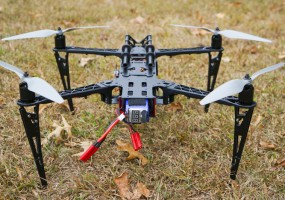
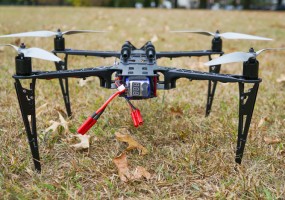
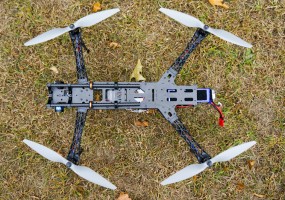
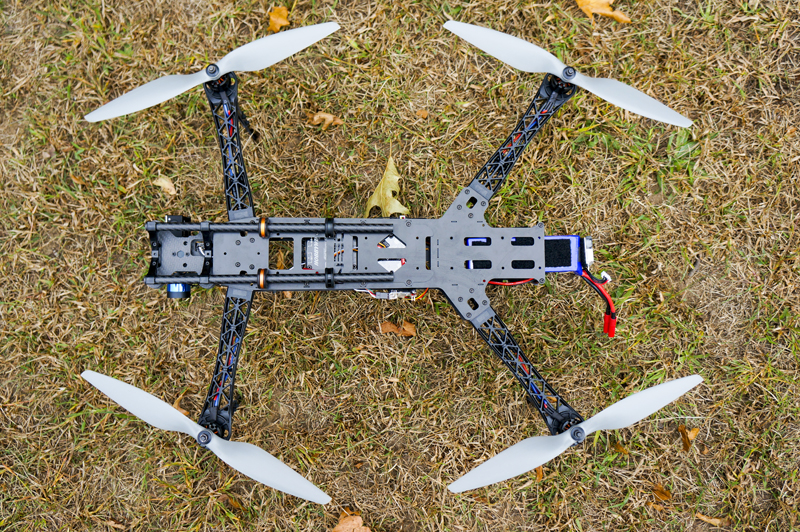
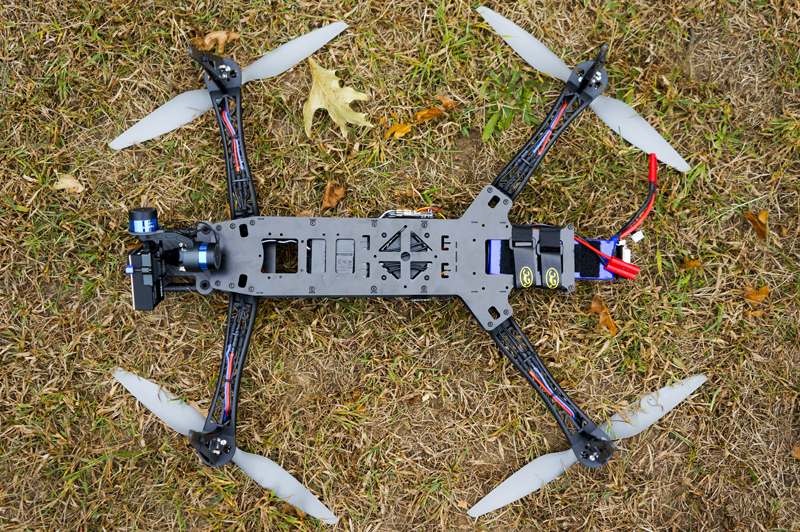
Screwing together the frame is straightforward as per the manual and the only trouble I ran into was a shortage of button head 3mm screws. The kit was missing about 19 of them, but I made do because I did not install either of the equipment decks or the cover hatch. More screws are on the way, as are longer landing gear to keep that gimbal up off the ground. For now I have installed some signature MultiRotorUSA.com sliced pool noodles in rat piss yellow and berry blue. The Tarot T2-D brushless GoPro Hero 3 gimbal fits nicely, and I’ve pushed it back so that it is actually overlapped by the frame by a few mm. Next step will be to add some FPV gear and go for a maiden flight. Overall, I really enjoyed putting this little frame together.
-
- MultiRotorUSA.com Build log of the NEX NEO kit QuadCopter Frame.
-
- MultiRotorUSA.com Build log of the NEX NEO kit QuadCopter Frame.
-
-
MultiRotorUSA.com Build log of the NEX NEO kit QuadCopter Frame.
-
-
MultiRotorUSA.com Build log of the NEX NEO kit QuadCopter Frame.
-
-
MultiRotorUSA.com Build log of the NEX NEO kit QuadCopter Frame.
-
-
MultiRotorUSA.com Build log of the NEX NEO kit QuadCopter Frame.
-
-
MultiRotorUSA.com Build log of the NEX NEO kit QuadCopter Frame.
-
-
MultiRotorUSA.com Build log of the NEX NEO kit QuadCopter Frame.
-
-
MultiRotorUSA.com Build log of the NEX NEO kit QuadCopter Frame.
-
-
MultiRotorUSA.com Build log of the NEX NEO kit QuadCopter Frame.
-
-
MultiRotorUSA.com Build log of the NEX NEO kit QuadCopter Frame.
-
-
MultiRotorUSA.com Build log of the NEX NEO kit QuadCopter Frame.
-
-
MultiRotorUSA.com Build log of the NEX NEO kit QuadCopter Frame.
-
- MultiRotorUSA.com Build log of the NEX NEO kit QuadCopter Frame.
-
- MultiRotorUSA.com Build log of the NEX NEO kit QuadCopter Frame.
-
- MultiRotorUSA.com Build log of the NEX NEO kit QuadCopter Frame.

-
- MultiRotorUSA.com Build log of the NEX NEO kit QuadCopter Frame.
-
- MultiRotorUSA.com Build log of the NEX NEO kit QuadCopter Frame.
-
- MultiRotorUSA.com Build log of the NEX NEO kit QuadCopter Frame.
-
- MultiRotorUSA.com Build log of the NEX NEO kit QuadCopter Frame.
-
- MultiRotorUSA.com Build log of the NEX NEO kit QuadCopter Frame.
-
- MultiRotorUSA.com Build log of the NEX NEO kit QuadCopter Frame.
-
- MultiRotorUSA.com Build log of the NEX NEO kit QuadCopter Frame.
-
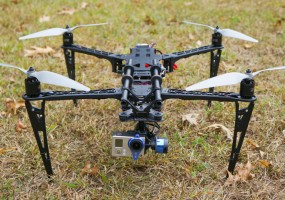
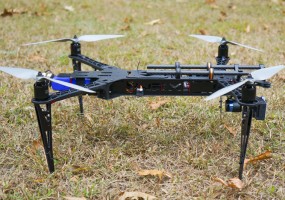
- This lightweight quadcopter drone was designed for FPV and aerial photography work.
-
- This lightweight quadcopter drone was designed for FPV and aerial photography work.
-
- This lightweight quadcopter drone was designed for FPV and aerial photography work.
-
- This lightweight quadcopter drone was designed for FPV and aerial photography work.
-
- This lightweight quadcopter drone was designed for FPV and aerial photography work.
-
- This lightweight quadcopter drone was designed for FPV and aerial photography work.
-

- This lightweight quadcopter drone was designed for FPV and aerial photography work.
-
- This lightweight quadcopter drone was designed for FPV and aerial photography work.
-
- This lightweight quadcopter drone was designed for FPV and aerial photography work.
-
- This lightweight quadcopter drone was designed for FPV and aerial photography work.
-

- This lightweight quadcopter drone was designed for FPV and aerial photography work.
-

- This lightweight quadcopter drone was designed for FPV and aerial photography work.