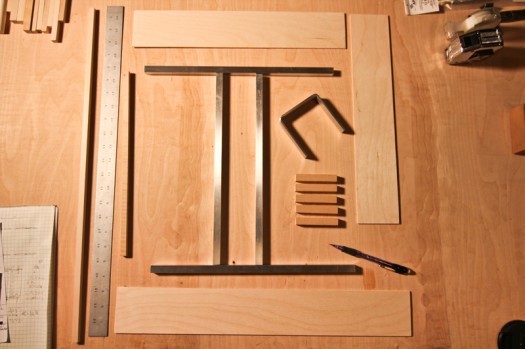
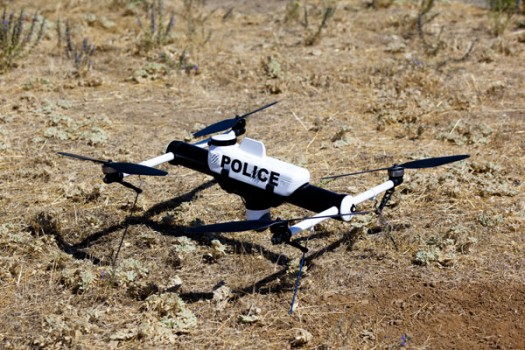
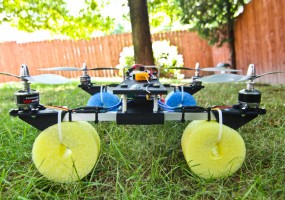
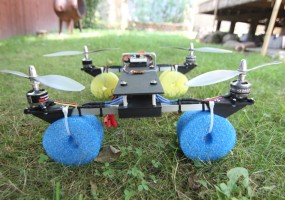
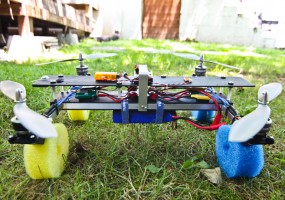
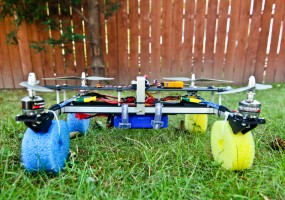
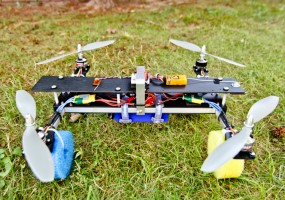
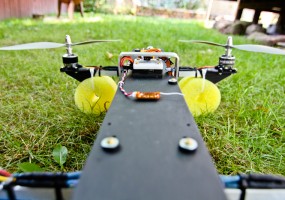
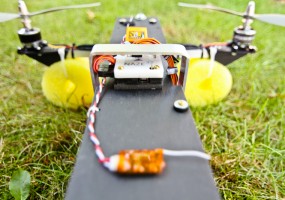
My excuse for building this frame is that I need a smaller frame that I can teach my wife and brother to fly on. Since I already have a primary fun frame, and a nice heavy lifter — I wouldn’t want to wreck any of them. So I simply had to build one more so that I always have a primary, a backup, and a teaching frame. The design was something inspired a bit by the quad pictured at the bottom of the page, and I will also be adding the second level as inspired by the Iconix-X and the QAV500 FPV Frames.
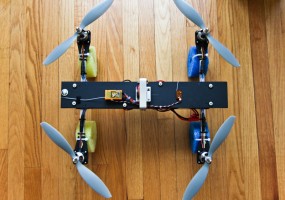
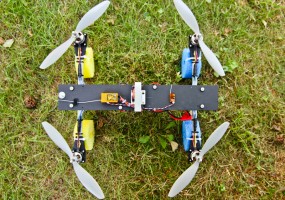
The motors will be 14.375″ across from each other or 20.3293″ diagonally. Here’s where it’s at so far:
This commercially produced quad (Shrike by Aerovironment) served as part of the inspiration for the build:
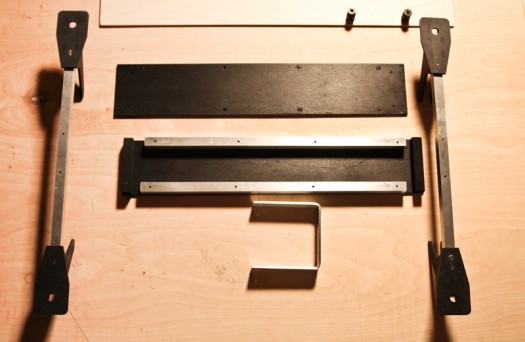
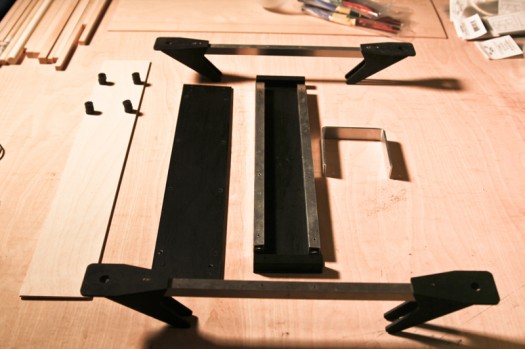
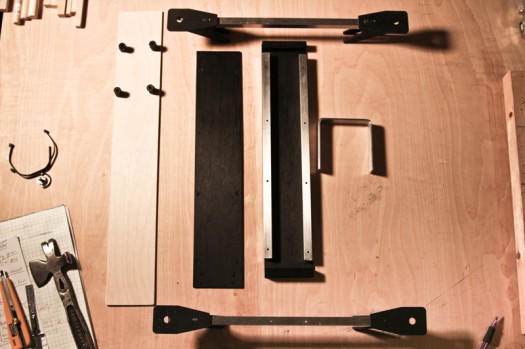
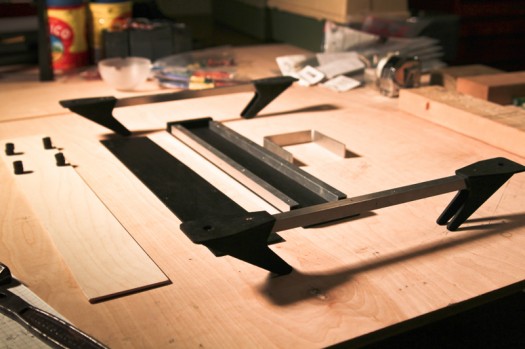
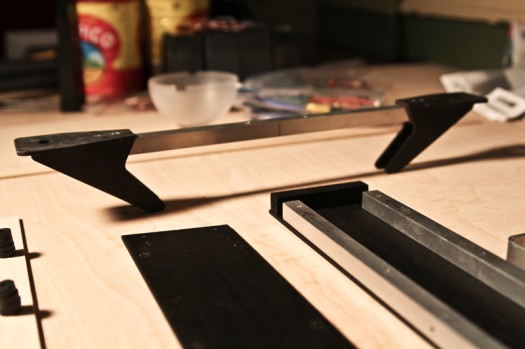
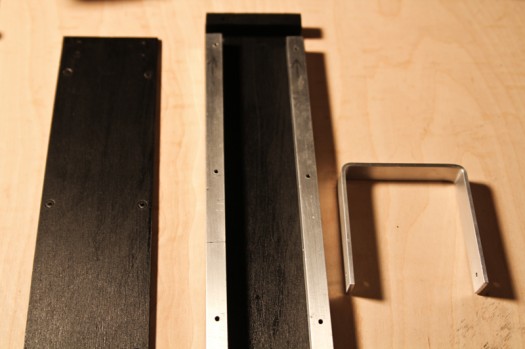
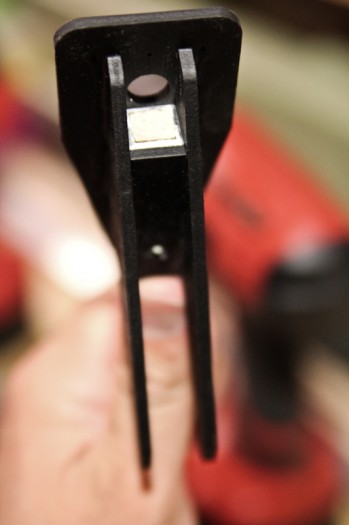
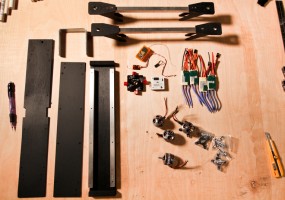
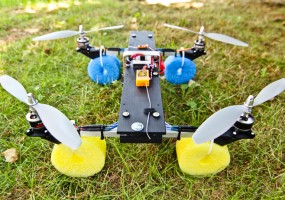
The 2 flat black pieces of plywood will sandwich the arms and longitudinal aluminum support bars. The 1/2″ aluminum arms have 3/8″ wooden inserts for strength, and the 2 longitudinal aluminum supports were left hollow. The roll bar you see in the photos will be mounted to the longitudinal supports. Motor mounts are MultiRotor Mega Motor Mounts from Blue Sky RC.
Fore and aft of the arms are 1/2″ wooden bars which will provide additional support, as well as a mounting point for the second level of the frame. I am planning to mount the ESC’s and Power Distribution Board on the first level. The board, RX, and Cameras will go on the second level. Currently do not have a 3rd CopterControl board, so will be using a Naze32 until I can get my hands on a CC3D!
The battery will be strapped underneath as usual, and I may build a battery case depending on how things progress. If the frame survives me teaching my bro and wife to fly, I will use it as a sporty FPV machine at some point. If it flies well, it’s easy enough to build another too!
I was asked how much just the frame materials cost to purchase:
4x Motor mounts ~$30 with shipping (you don’t need these)
Aluminum Bar ~$24 (2x 48″ lengths with shipping – this project needs around 55″ of bar and it would be cheaper if you could find it locally — can also use 1/2″ wood instead of aluminum for dirt cheapness)
Revell Plywood sheet from Michaels: $3.99
3/8″ x 3/8″ square wood rod from Michaels: $4 for 2 (not necessary either)
1/2″ x 1/2″ square wood $2
Hardware: $13 (estimate for nuts/bolts/washers/rubber plumbing washers)
Alum Bar for roll cage: $2 (local hardware store – paid $7 but used on 3 projects, also optional but will save the board in crash!)
So: $30 + $24 + $4 + $4 + $2 + $13 + $2 = $79
As you can see by the options, it can be done cheaper, and this estimate here is if you’re just buying this stuff for this build. I try to buy materials that I can just keep feeding from for builds – so that also brings the expense down because I have a small stock in my workshop.
Here are the rest of the build details:
Motors: Turnigy Park480 850 KV
Receiver: Orange 7CH with Falisafe and Satellite
ESC’s: Dynam Detrum 30a flashed with SimonK software
Power distribution: Quadcopter Power Distribution Board from DIY Drones
Control Board: Naze32 (until a CC3D can take it’s place!)
Landing Gear: Extra Large, colorful pool noodles. Yellow is the front.
Props: APC 11×4.7 Slow Flyers
The top level will hold a camera up front mounted inverted which will have no props in view, as well as a camera in the rear facing either down or backwards.
First measured flight time: 12 mins 42 secs.
- My self designed quadcopter build parts
- My self designed quadcopter build
- My self designed quadcopter build
- My self designed quadcopter build
- My self designed quadcopter build
- My self designed quadcopter build
- My self designed quadcopter build
- My self designed quadcopter build
- My self designed quadcopter build
- My self designed quadcopter build
- My self designed quadcopter build
